Welcome to WordPress. This is your first post. Edit or delete it, then start writing!
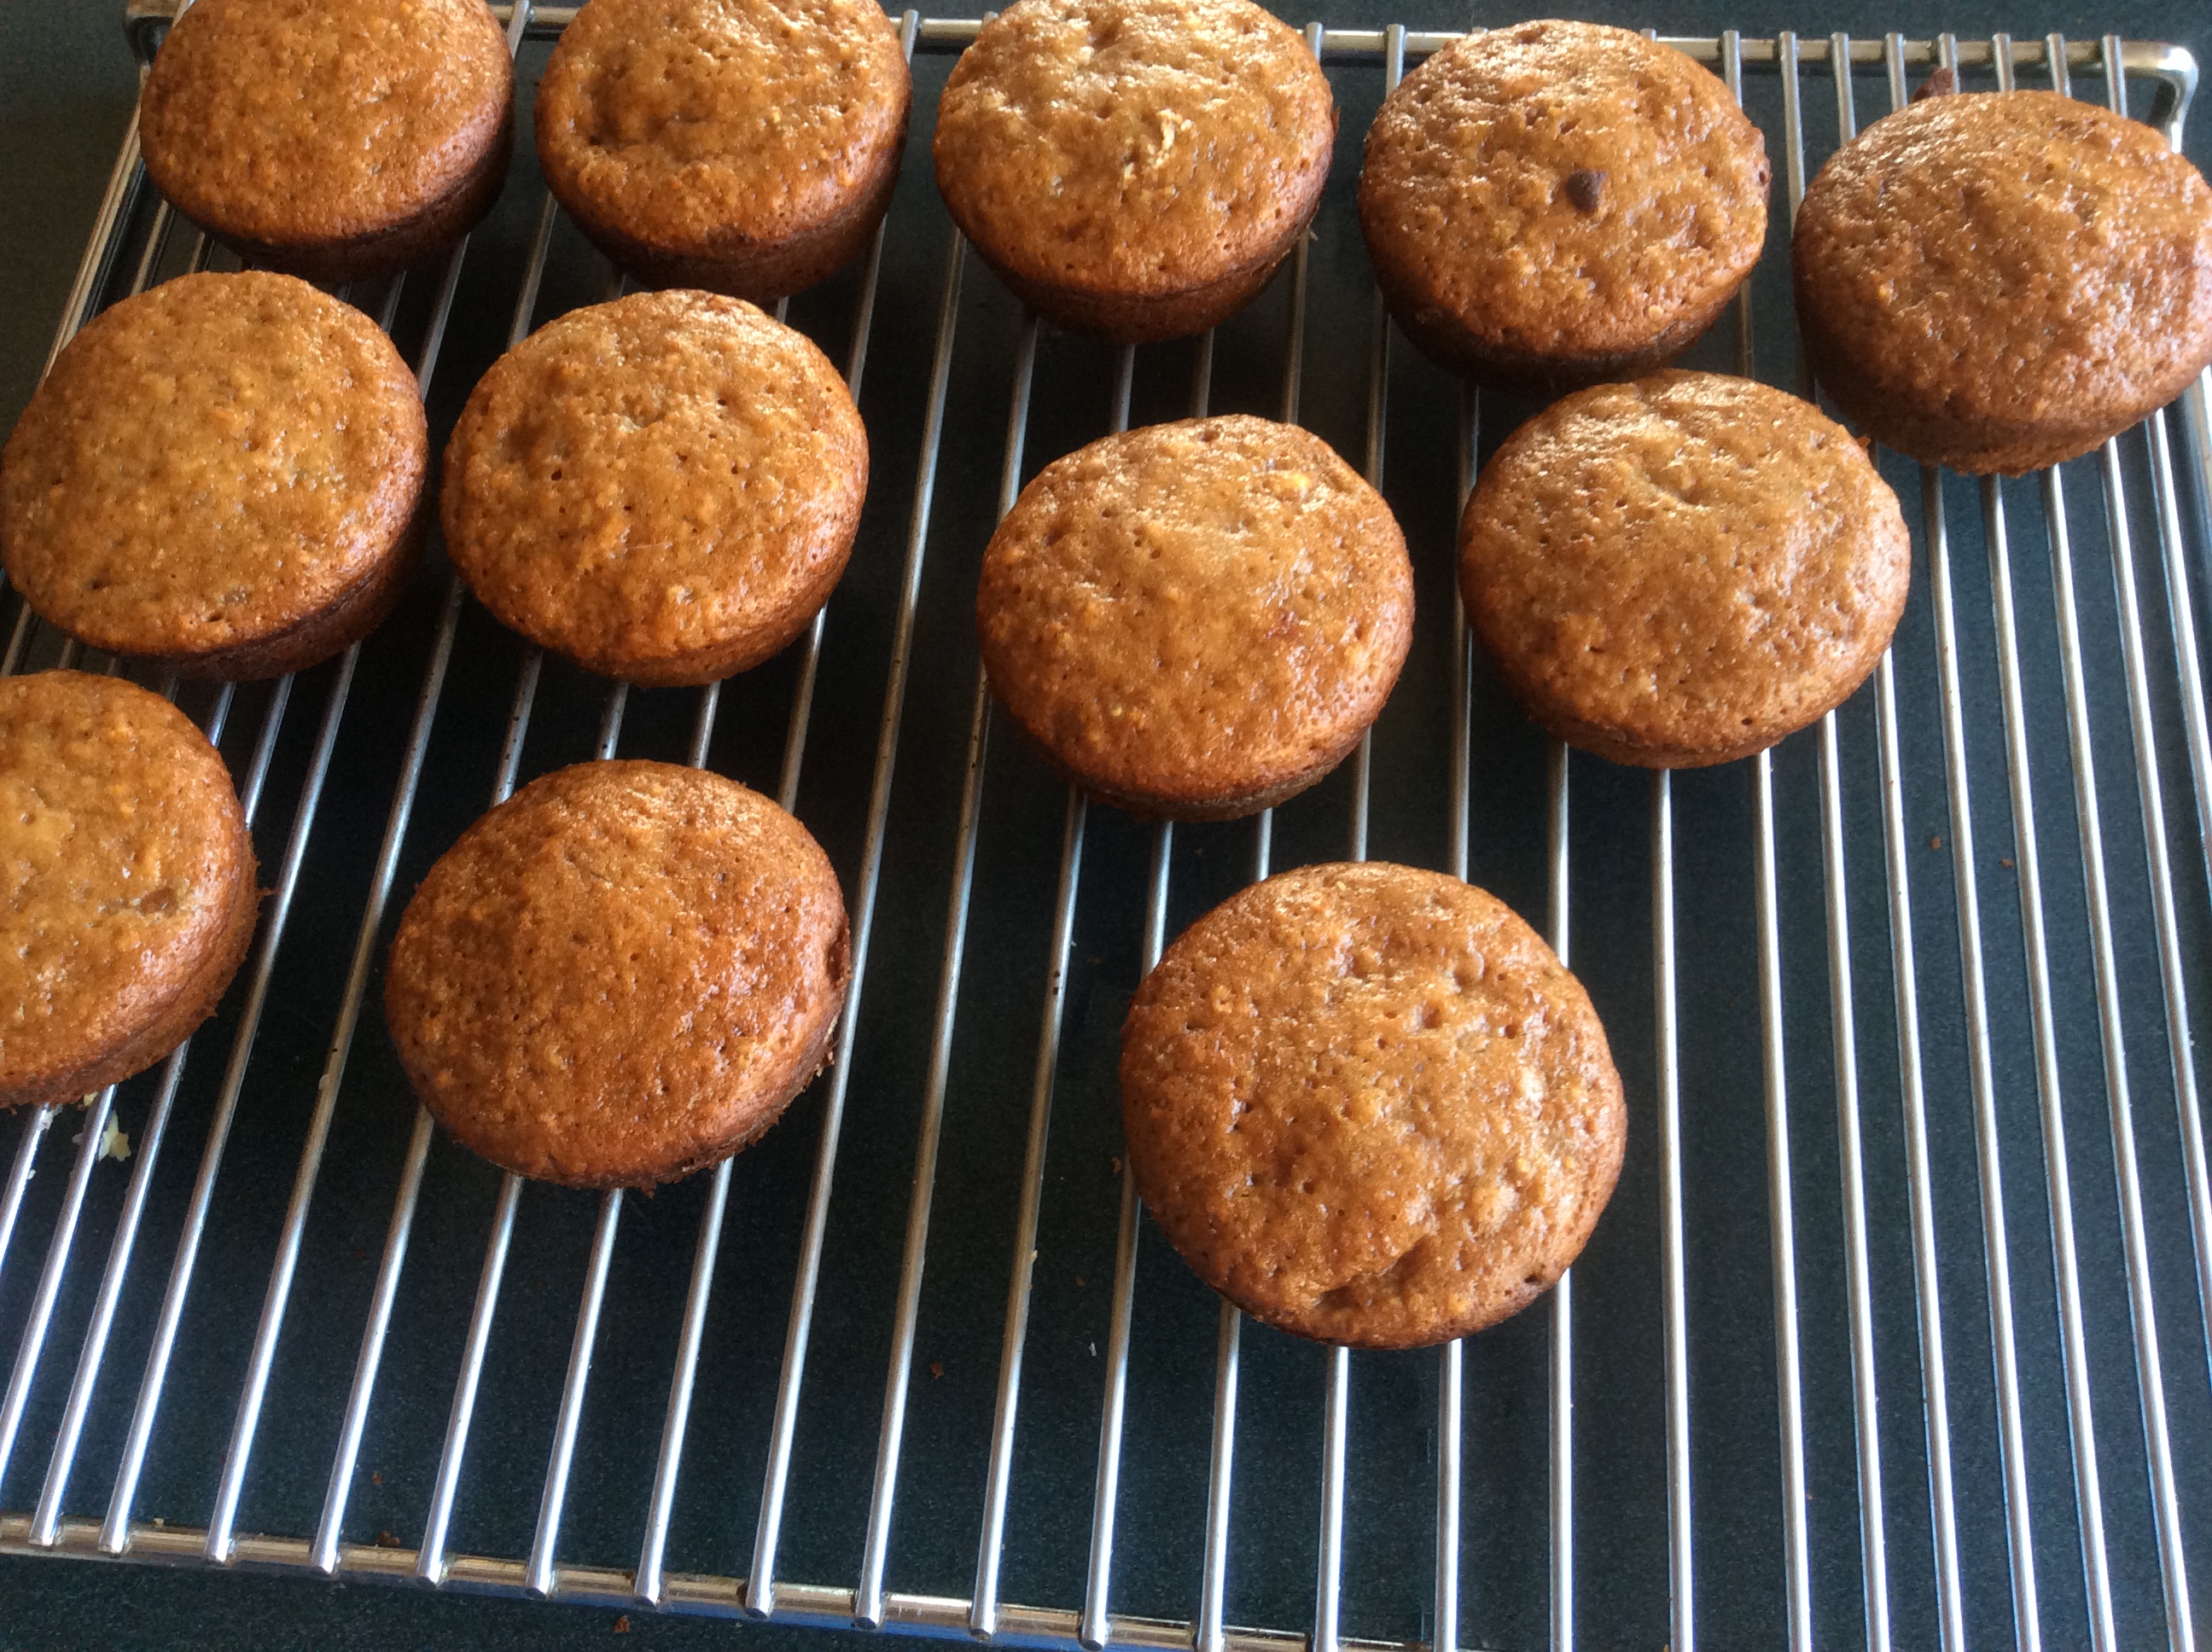
Feijoa & Honey Muffins
6 to 10 Feijoas depending on size, scoop out flesh
50 grams butter
1 cup water
1/2 cup Honey
1/2 cup Suagr
mix together, boil for 5 minutes, then cool.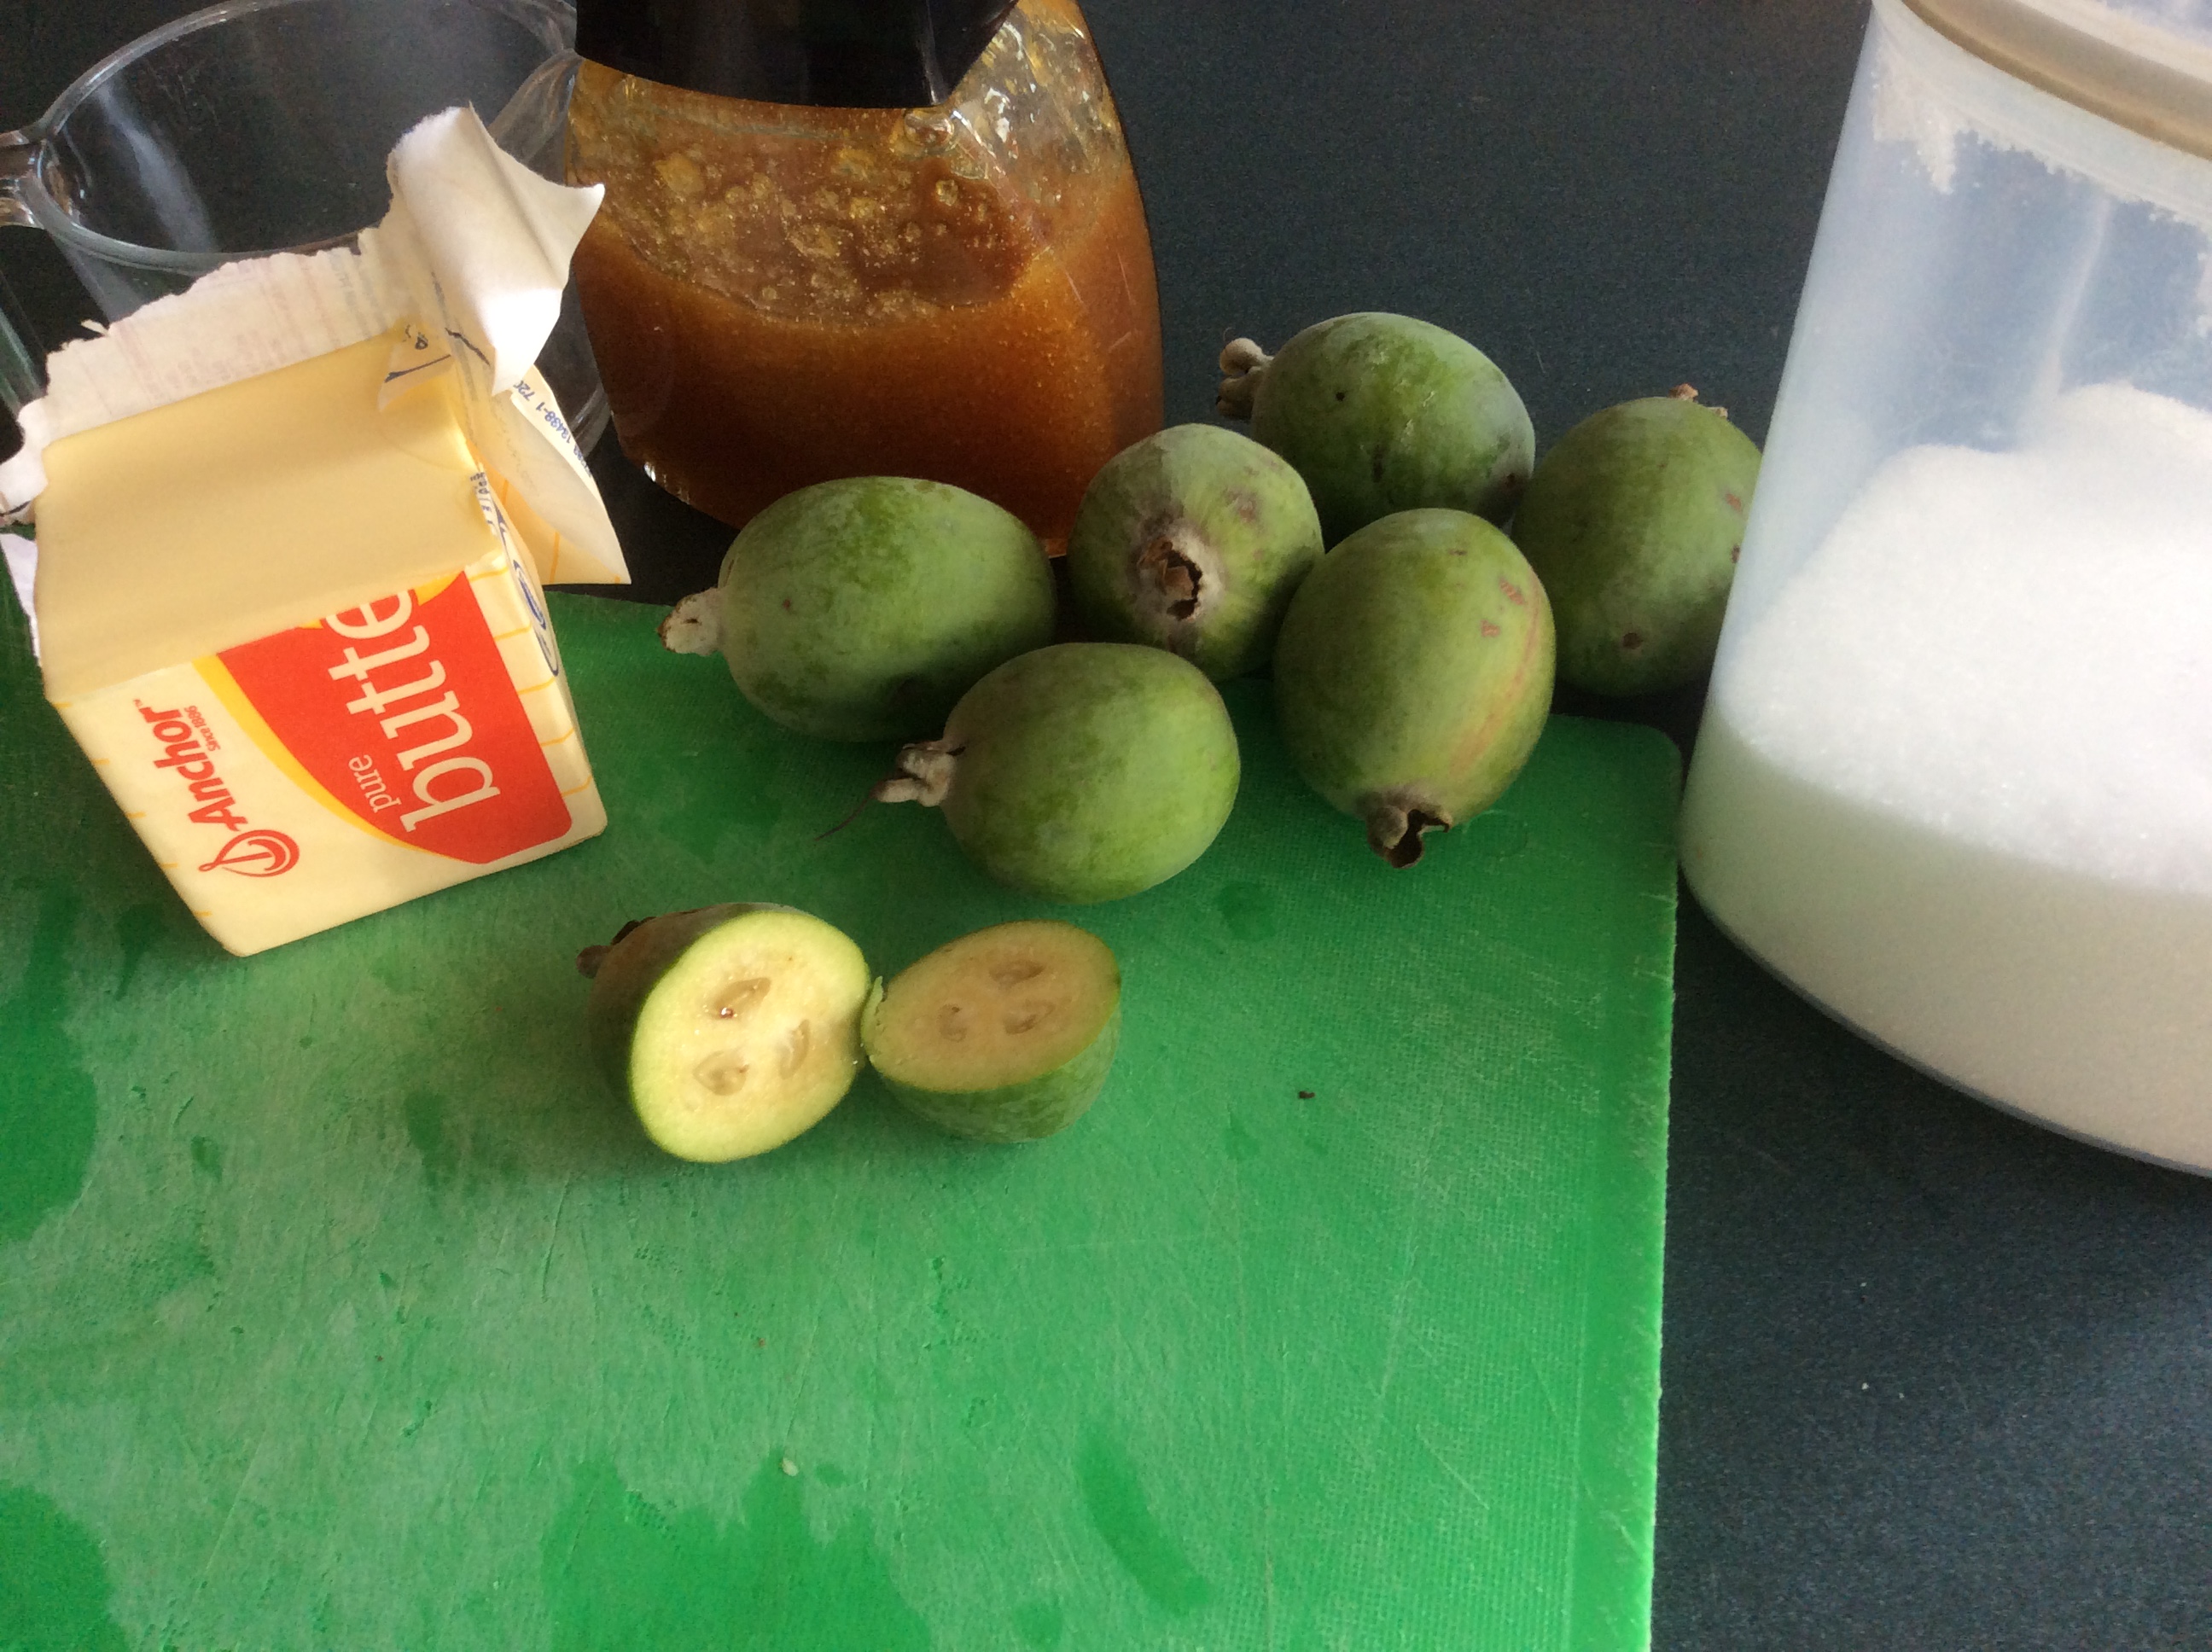
once cool add
2 cups flour,
1 teaspoon baking powder
1 teaspoon baking soda
1 beaten egg
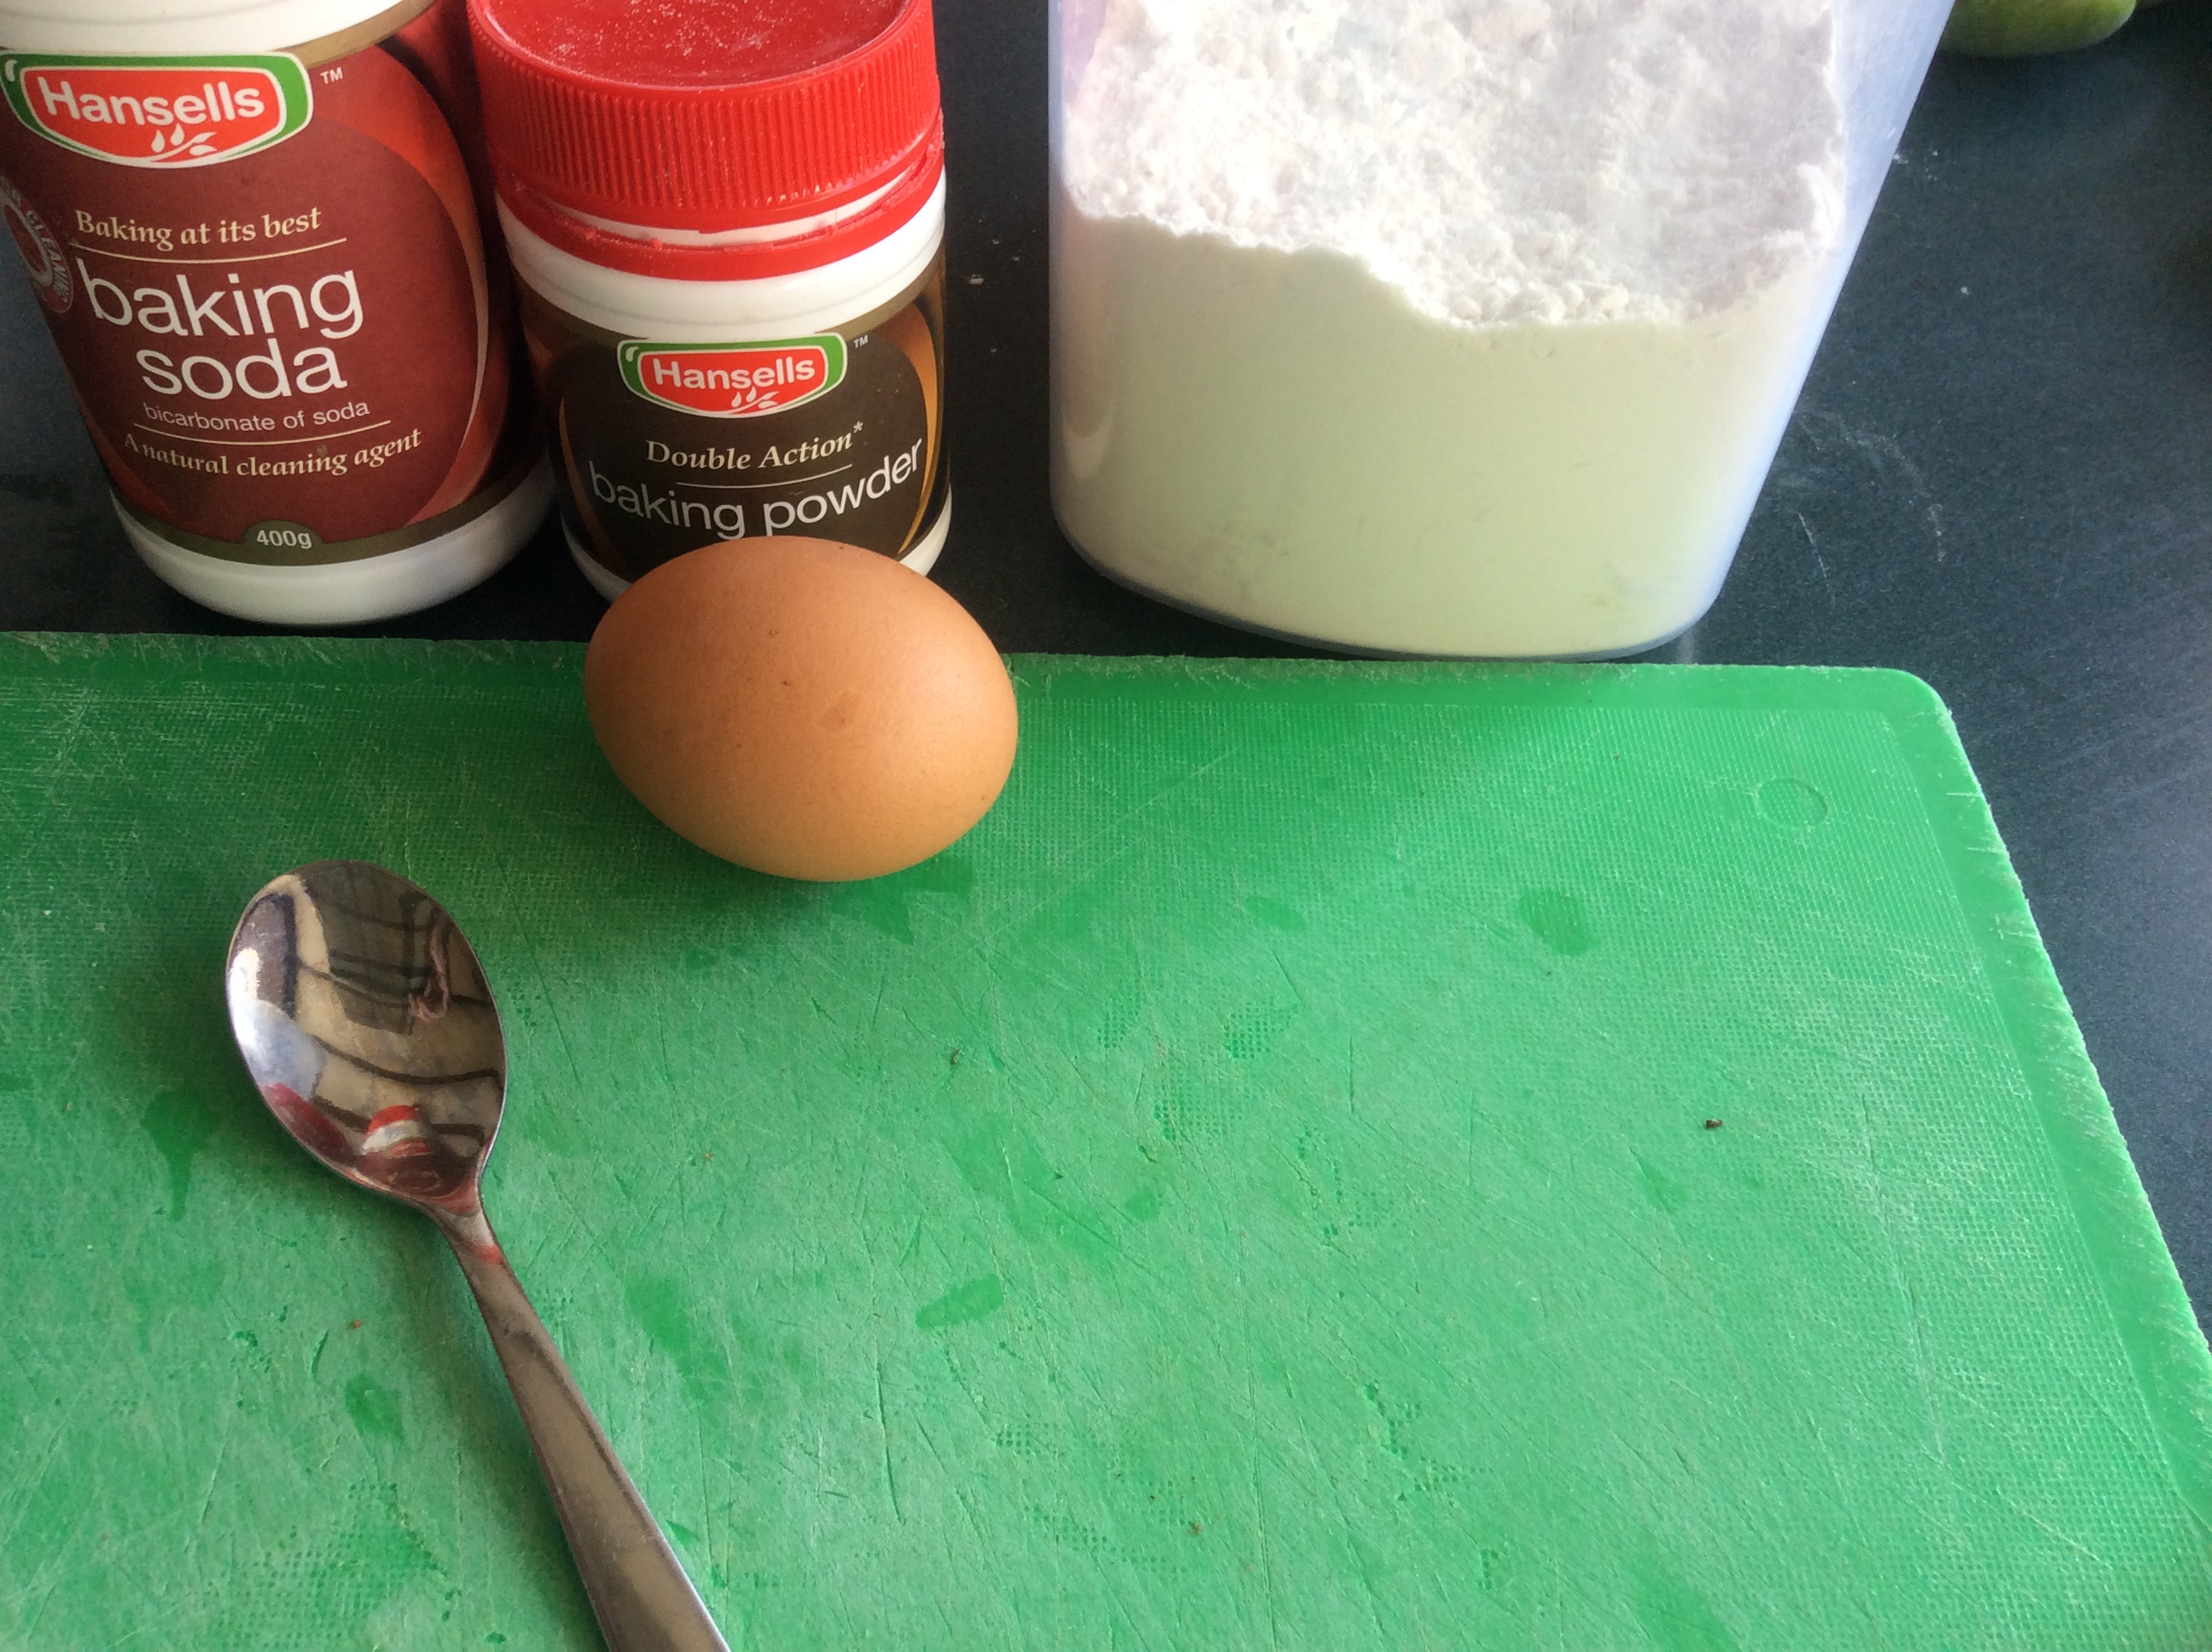
mix well, put batter into greased muffin tins, bake at 180 for 20 minutes …keep an eye on them may need longer depending on size of muffin tin etc. Makes 12 to 18
Making Mead
If you have a couple of kilos of spare honey lying around, Ian has provided us with his recipe for mead. Cheers Ian!
Scale:
3.8 L of water and 1.59 (1.6) kg of honey will make about 6 L of mead.
To make more, multiply the quantities above.
EG: Want to make 18L, 18 / 6 = 3 so multiply by three, 3.8 * 3 = 11.4L of water and 1.59 * 3 = 4.77 kg of honey
This recipe will assume you wish to make 24L of mead, using 15.2L of water and 6.36 kg of honey
Ingredients:
- Honey (measured as above)
- Water (measured as above)
- Water (additional, about 3 cups)
- Yeast (I used a wine yeast CL23)
- 3/4 cup of sundried raisins, chopped (no preservatives)
- 4 dry tea bags
- 3 oranges,
Other equipment:
- 2 x 30L containers (carbouy) with airlocks
- Hydrometer
- Mangrove Jack’s No Rinse Sanitizer
- Tube Syphon
Instructions:
- Sanitize all equipment with Mangrove Jack’s No Rinse Sanitizer
- Hydrate/Activate the yeast if required with one cup of water
- Remove the peel of the oranges, cut the peel into quarters and add the peel to a pot without the flesh. Then add the raisins, tea bags and some water. Place it on a high heat until it boils, leave for 10 to 15 minutes.
- Pour honey into a 30L container and add some water – then shake to mix. Repeat adding more water each time.
- Add the raisin, tea, and orange mixture, and mix again
- Add the yeast mixture, and mix again
- Take a hydrometer reading and note it. Around 1.100 should produce 13% alcohol. If the reading is too high, add water. Too low, add honey
- Place an airlock on the container, and then store somewhere away from direct sunlight
- After six to eight weeks, rack the mead into another container, using a tube syphon and ensure that you leave the sediment at the bottom untouched.
- Measure the racked mead’s specific gravity. It could be as low as 1, but it might be higher based on the yeast or the temperature
- Reattach the airlock and store for a further six to eight weeks
- At this stage fermentation will likely be winding down. A quick sip will tell you if there is any sugar left, and if there are bubbles then it is still fermenting. Regardless, you should rack the mead back into the original container and re-attach the air lock
- After another six to eight weeks, if the mead is stable (no fermenting) then replace the airlock with a solid plug and allow it to age
- It will take a while, likely longer than six months for the strong alcohol taste to fade. Test it every month or so after four to see when the taste has smoothed out. In general, the longer you leave it, the better it will taste. When you like what you taste…
- Bottle it! Well done.
Editor’s Note: After making your first batch of mead, feel free to try experimenting with the flavours during the process. For example, adding fruits or herbs during the aging process will add almost a flavour-colour profile to the mead. If you prefer it to be sweeter, then it is possible to stop the yeast early to create a sweeter mead. It can be very artistic if you want it to be!
Field Day in November
Upcoming Field Day , November 23rd, see you all there
Up coming events
Market Day at Kaukapakapa Library featuring bees and beekeeping!
Rodney Beekeepers Club
Live display hive, info on beekeeping, trees for bees
Sunday Nov 17th at Kaukapakapa Library (next to KKK Fire station)
New hive entrances fitted to club hives
Local residents and bee enthusiasts, Sean ,Kyle ,Marilain and Llewelyn have developed a new innovative bee hive entrance system call the BeeIQ Solutions Hive Gate.
The BeeIQ Solutions Hive Gate allows the bees to better defend their home from the pesky German Wasp, by mimicking a more natural hive entrance, also improving the dynamics inside the hive.
New BeeIQ Solutions Hive gates were fitted this week, easy to do. Check out the
pictures.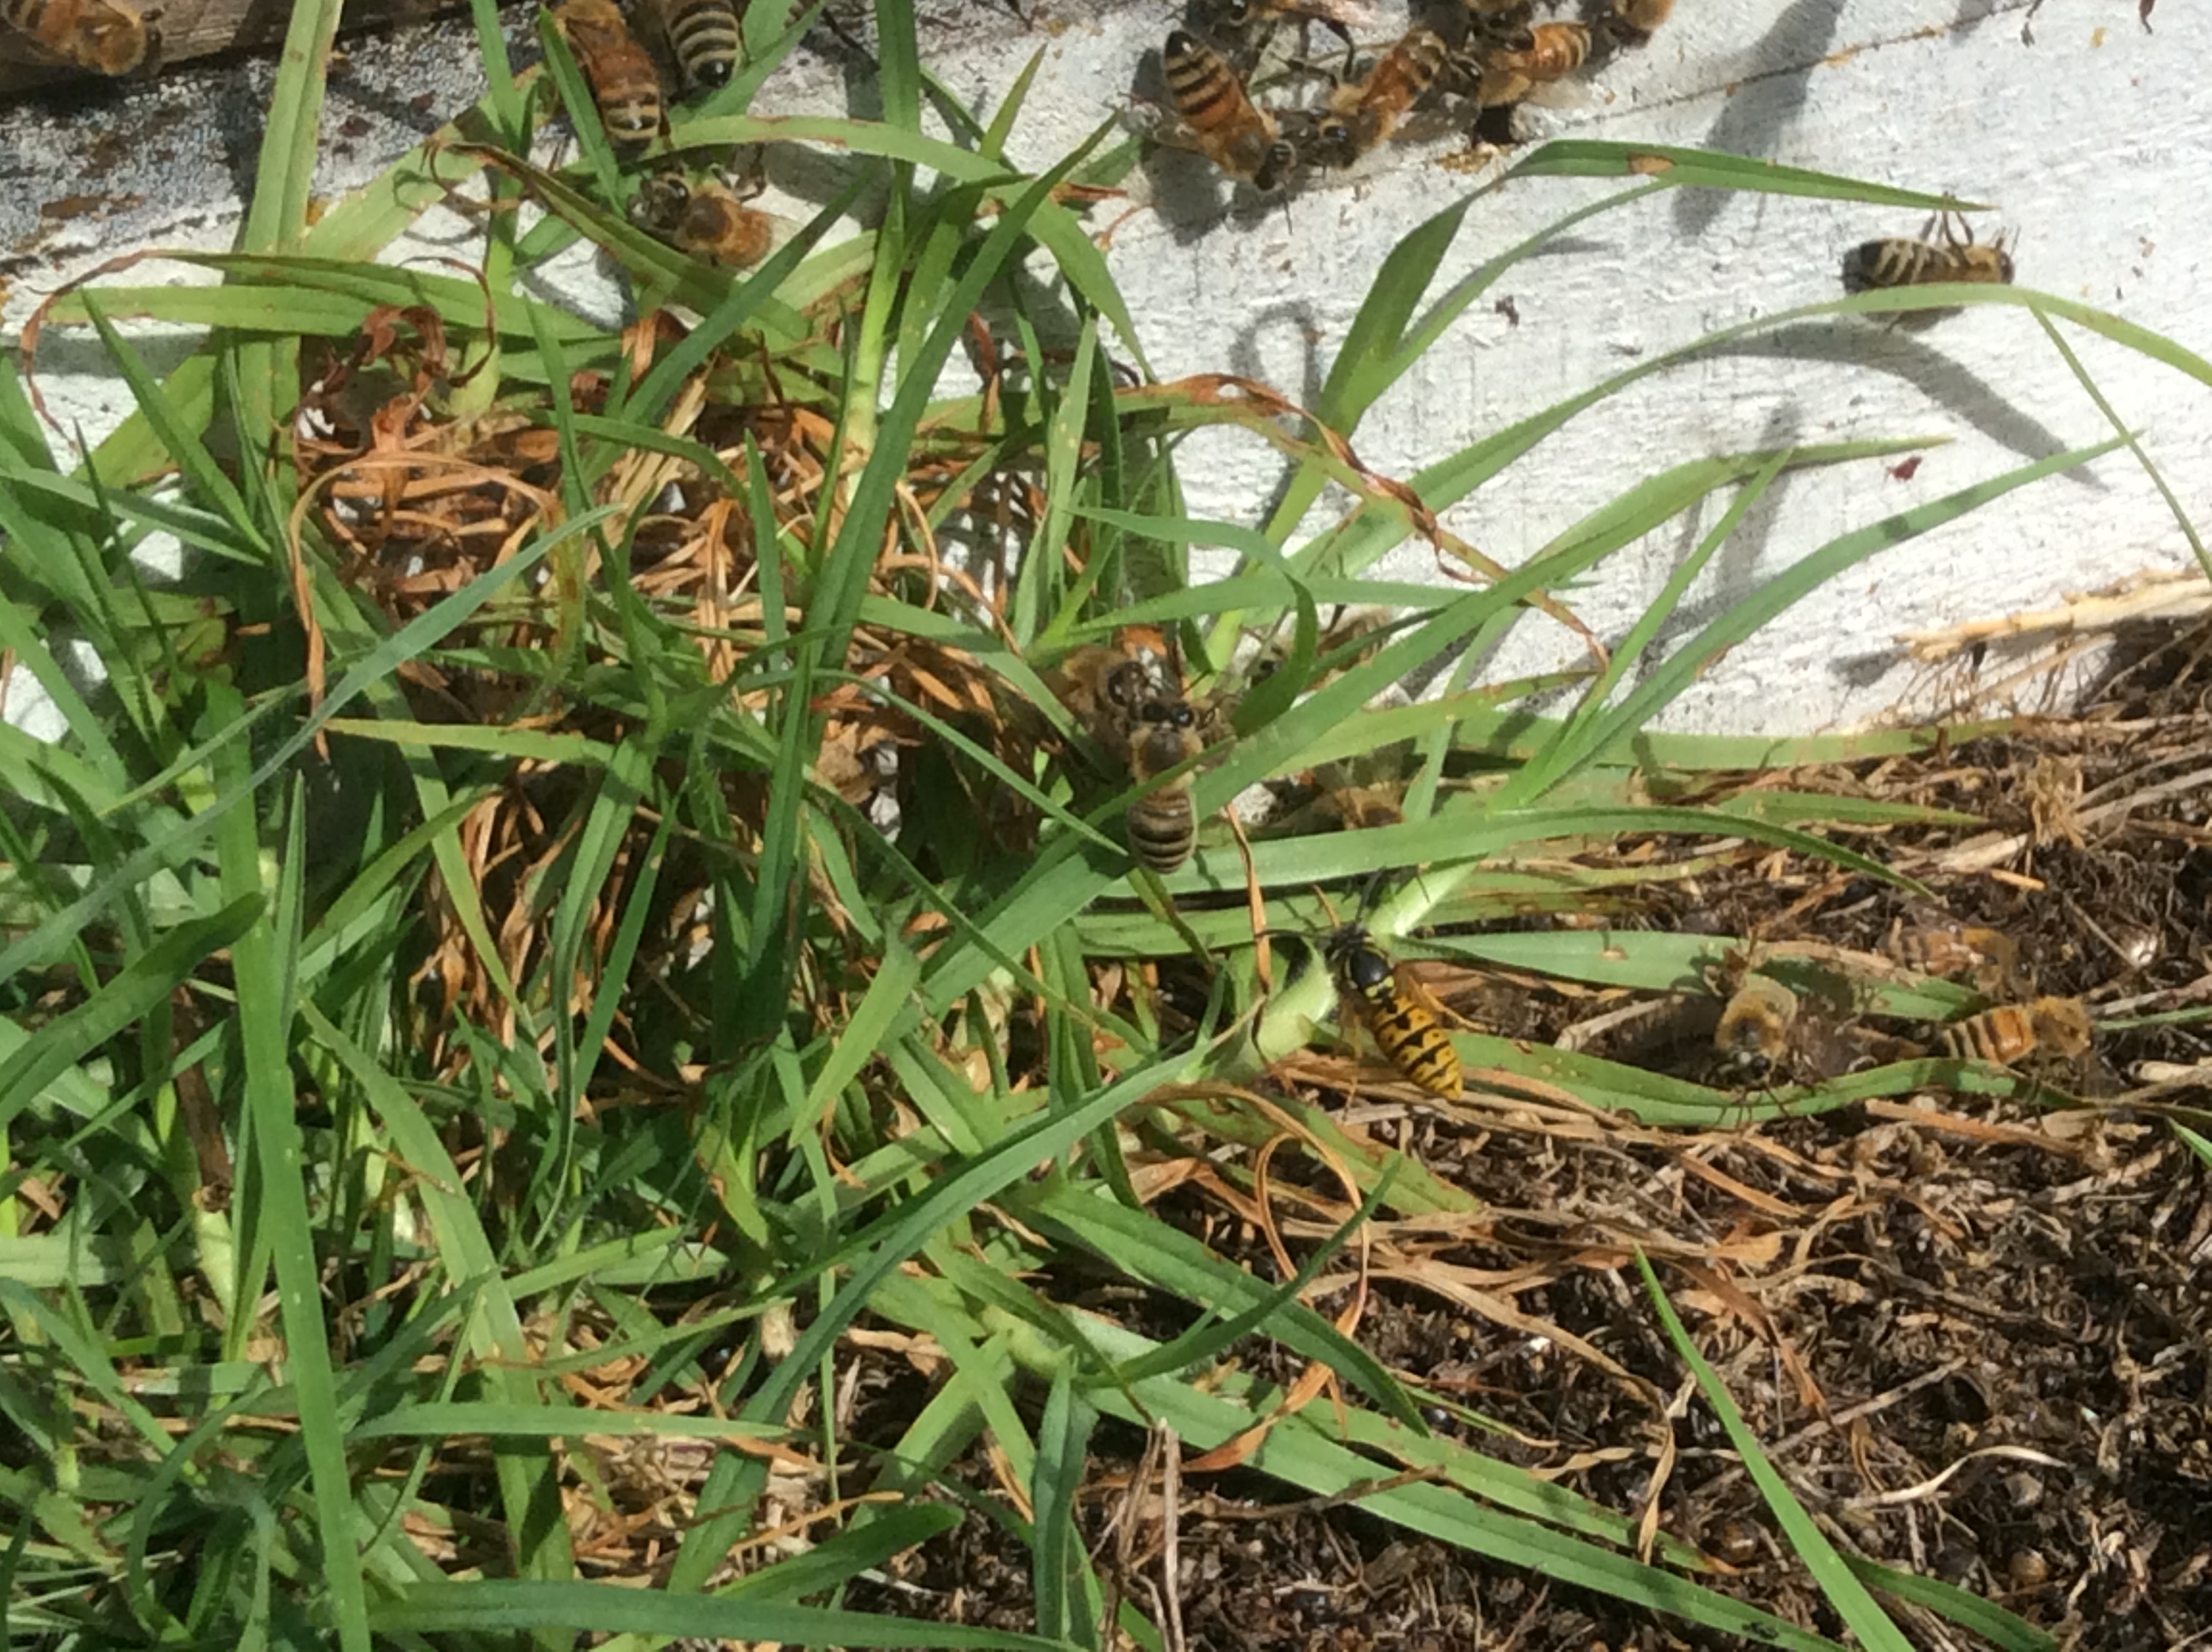 German Wasp checking out the hive
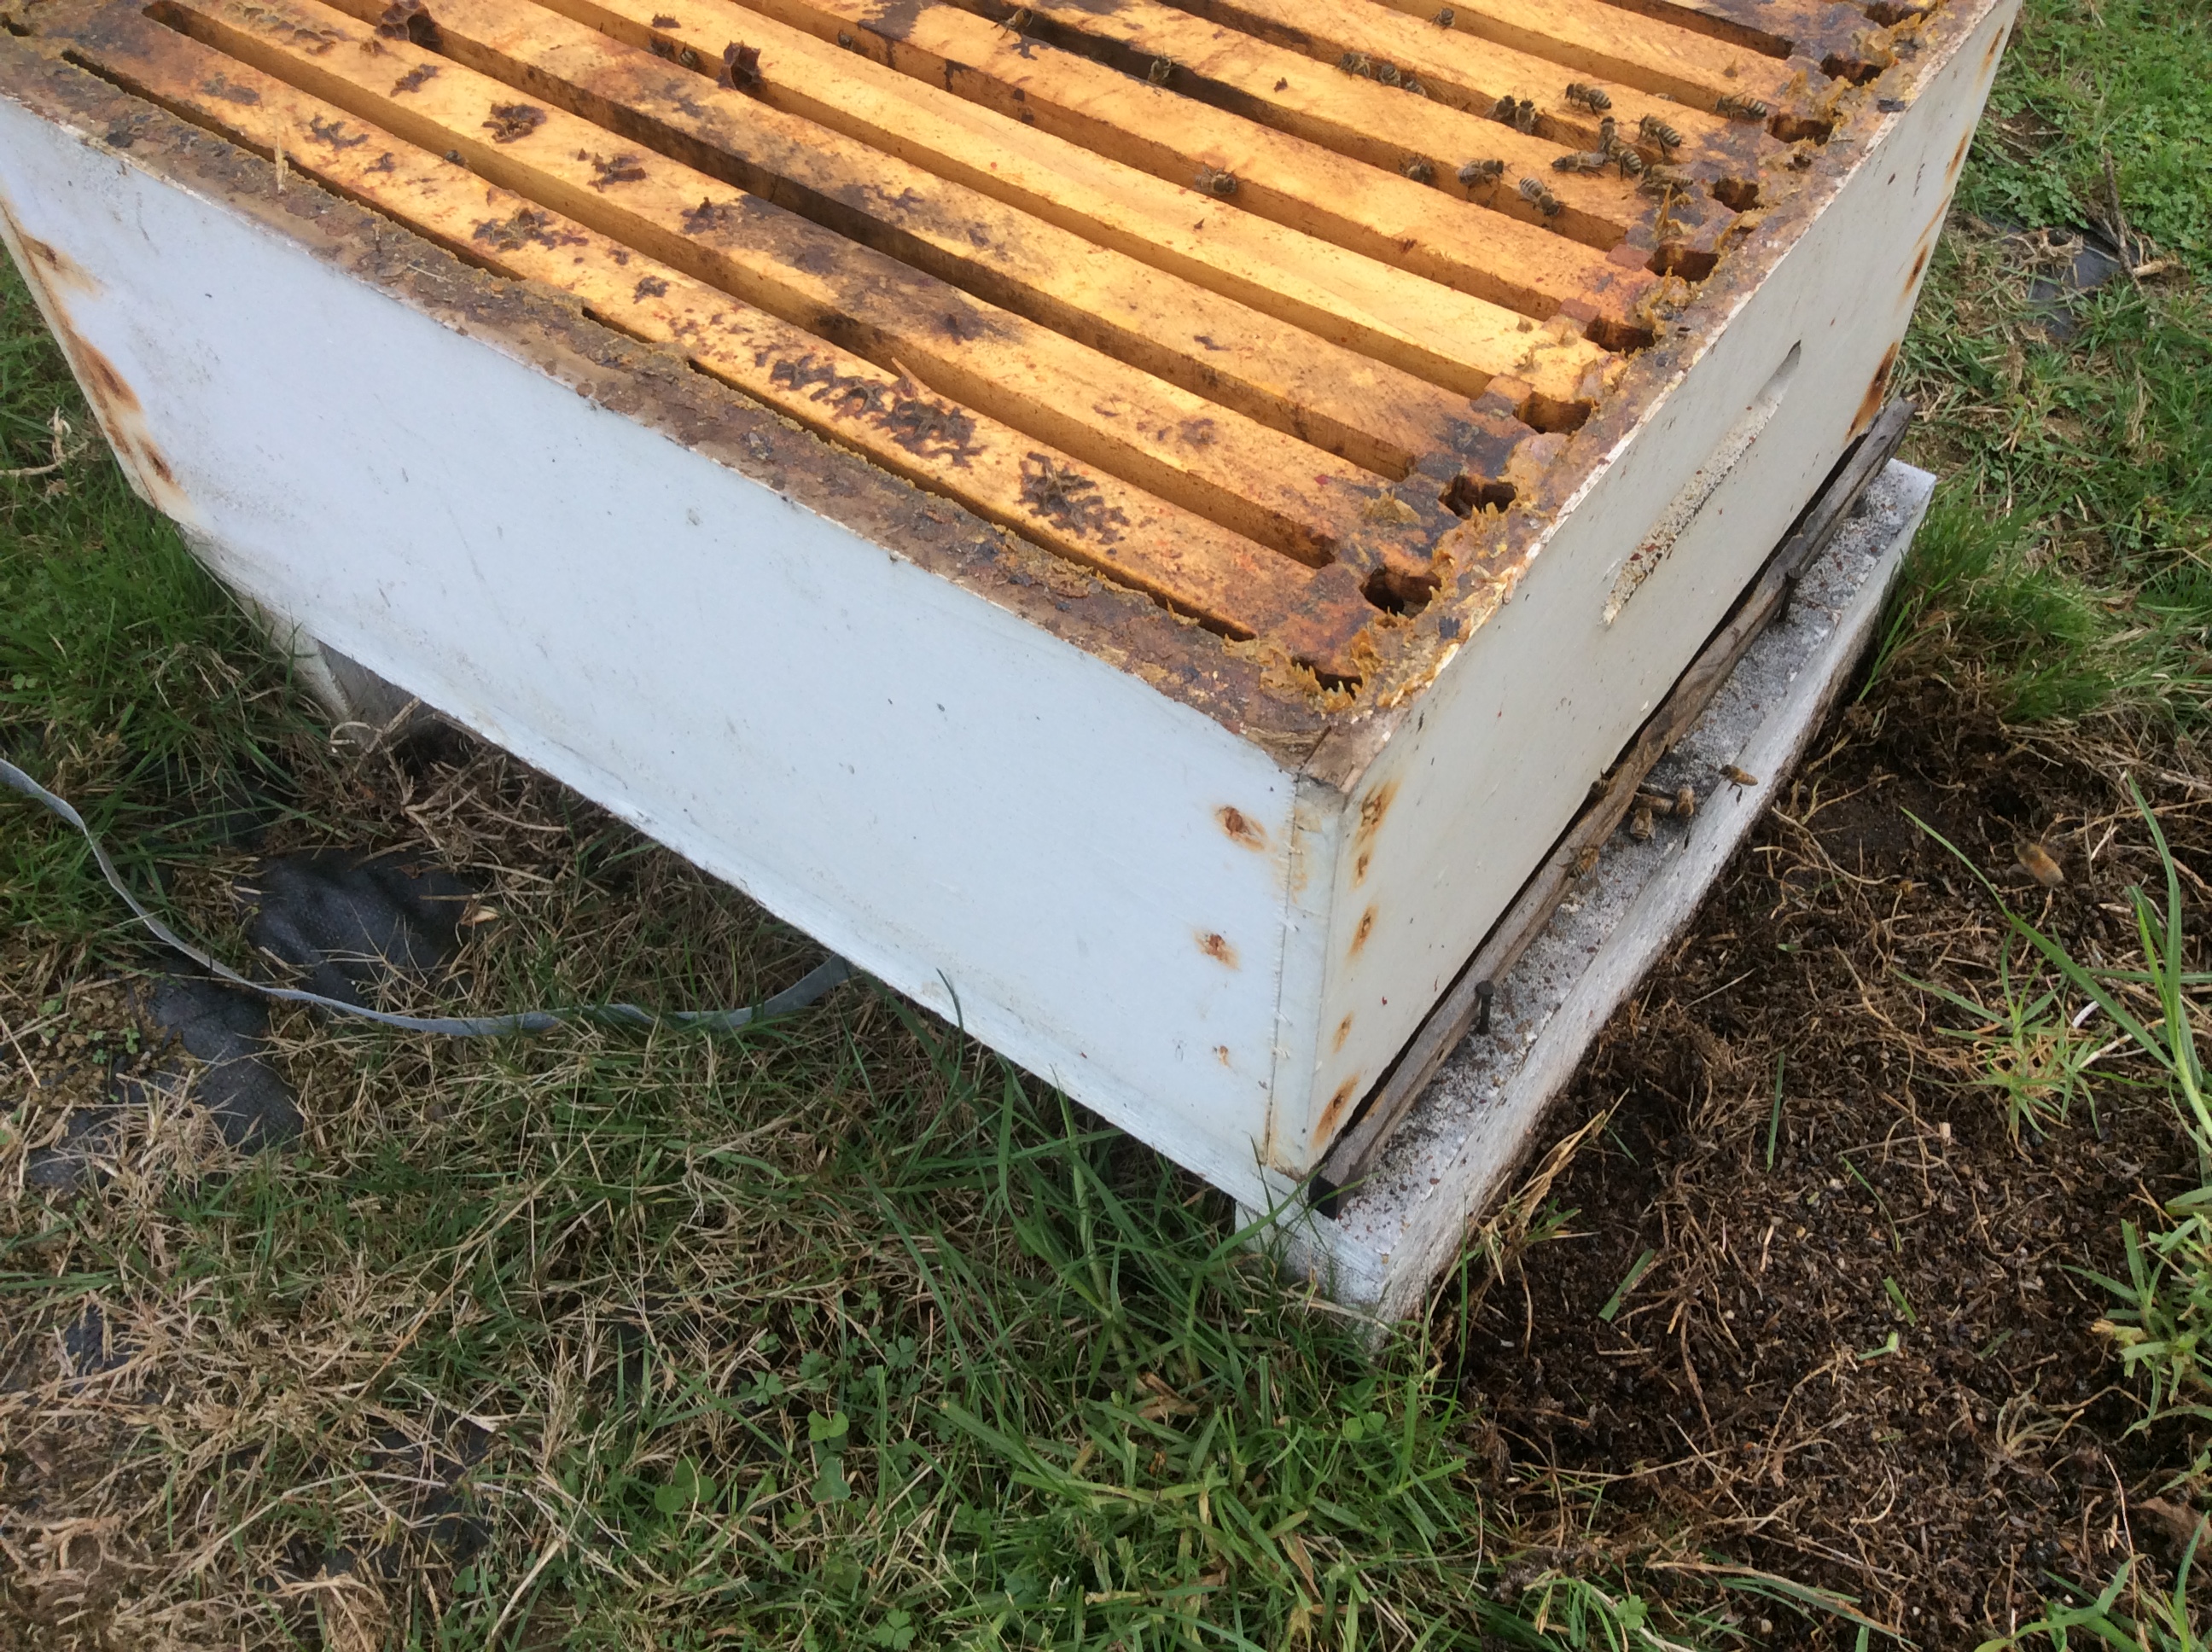
Hive stripped down
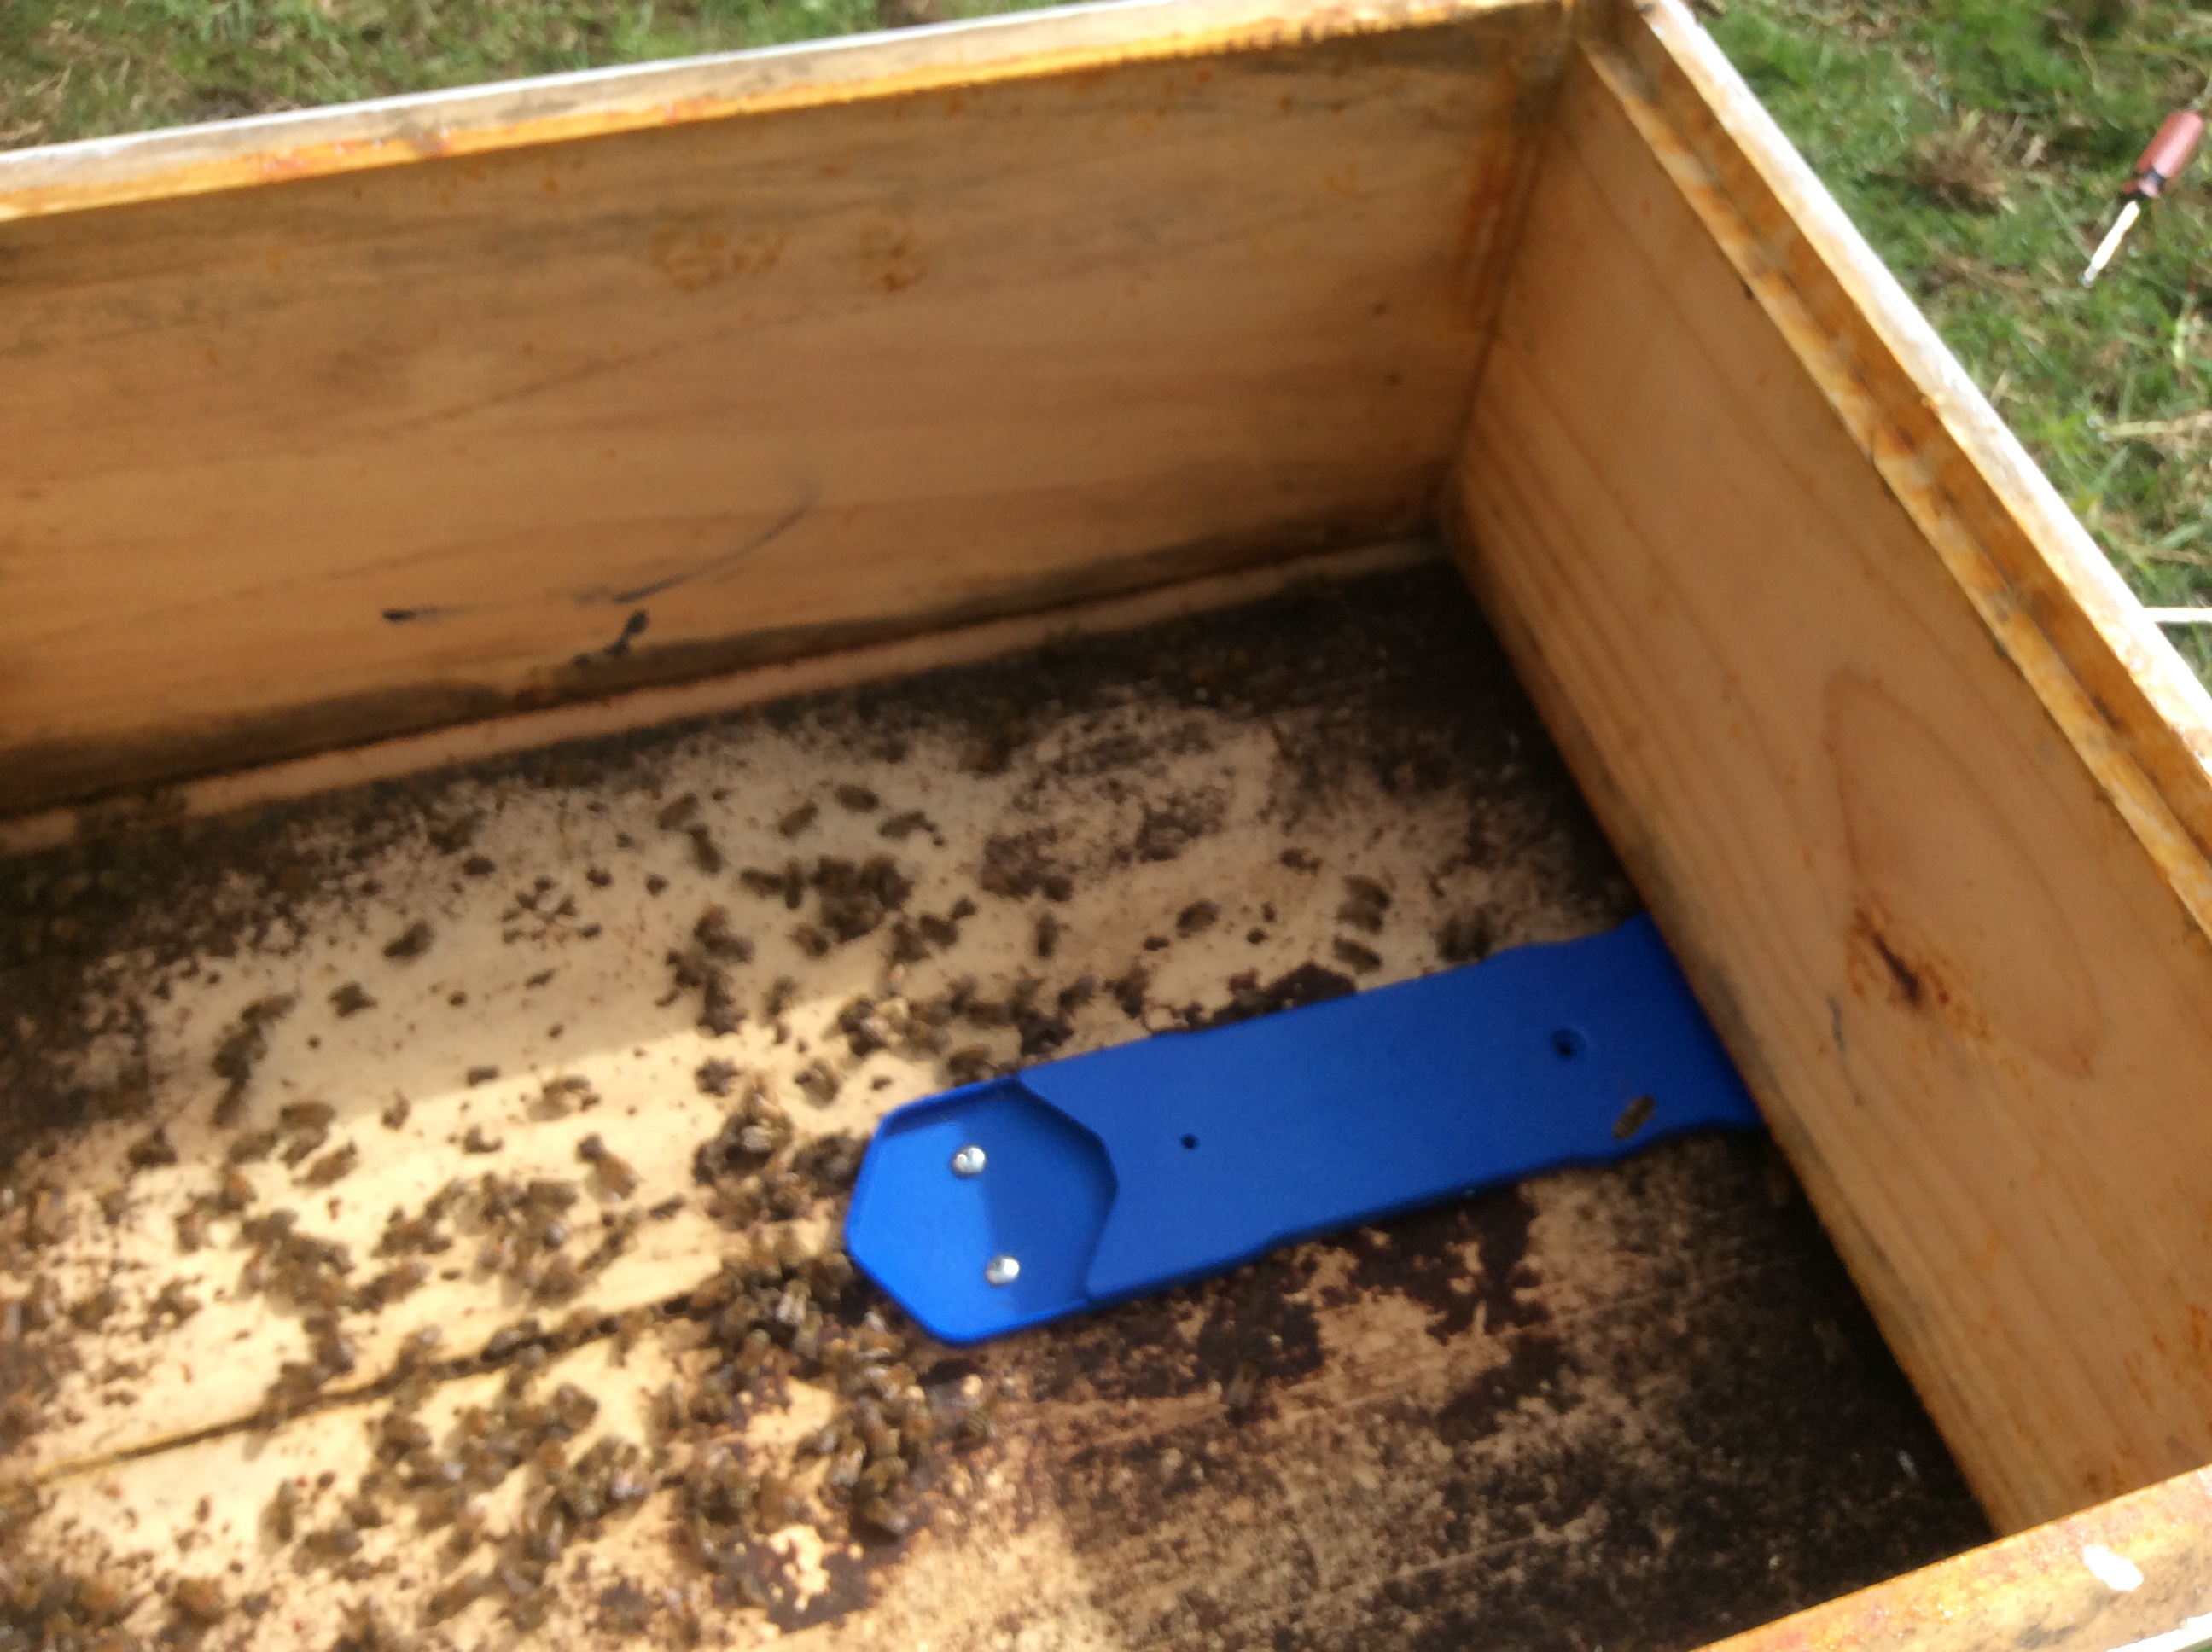
Internal tunnel fitted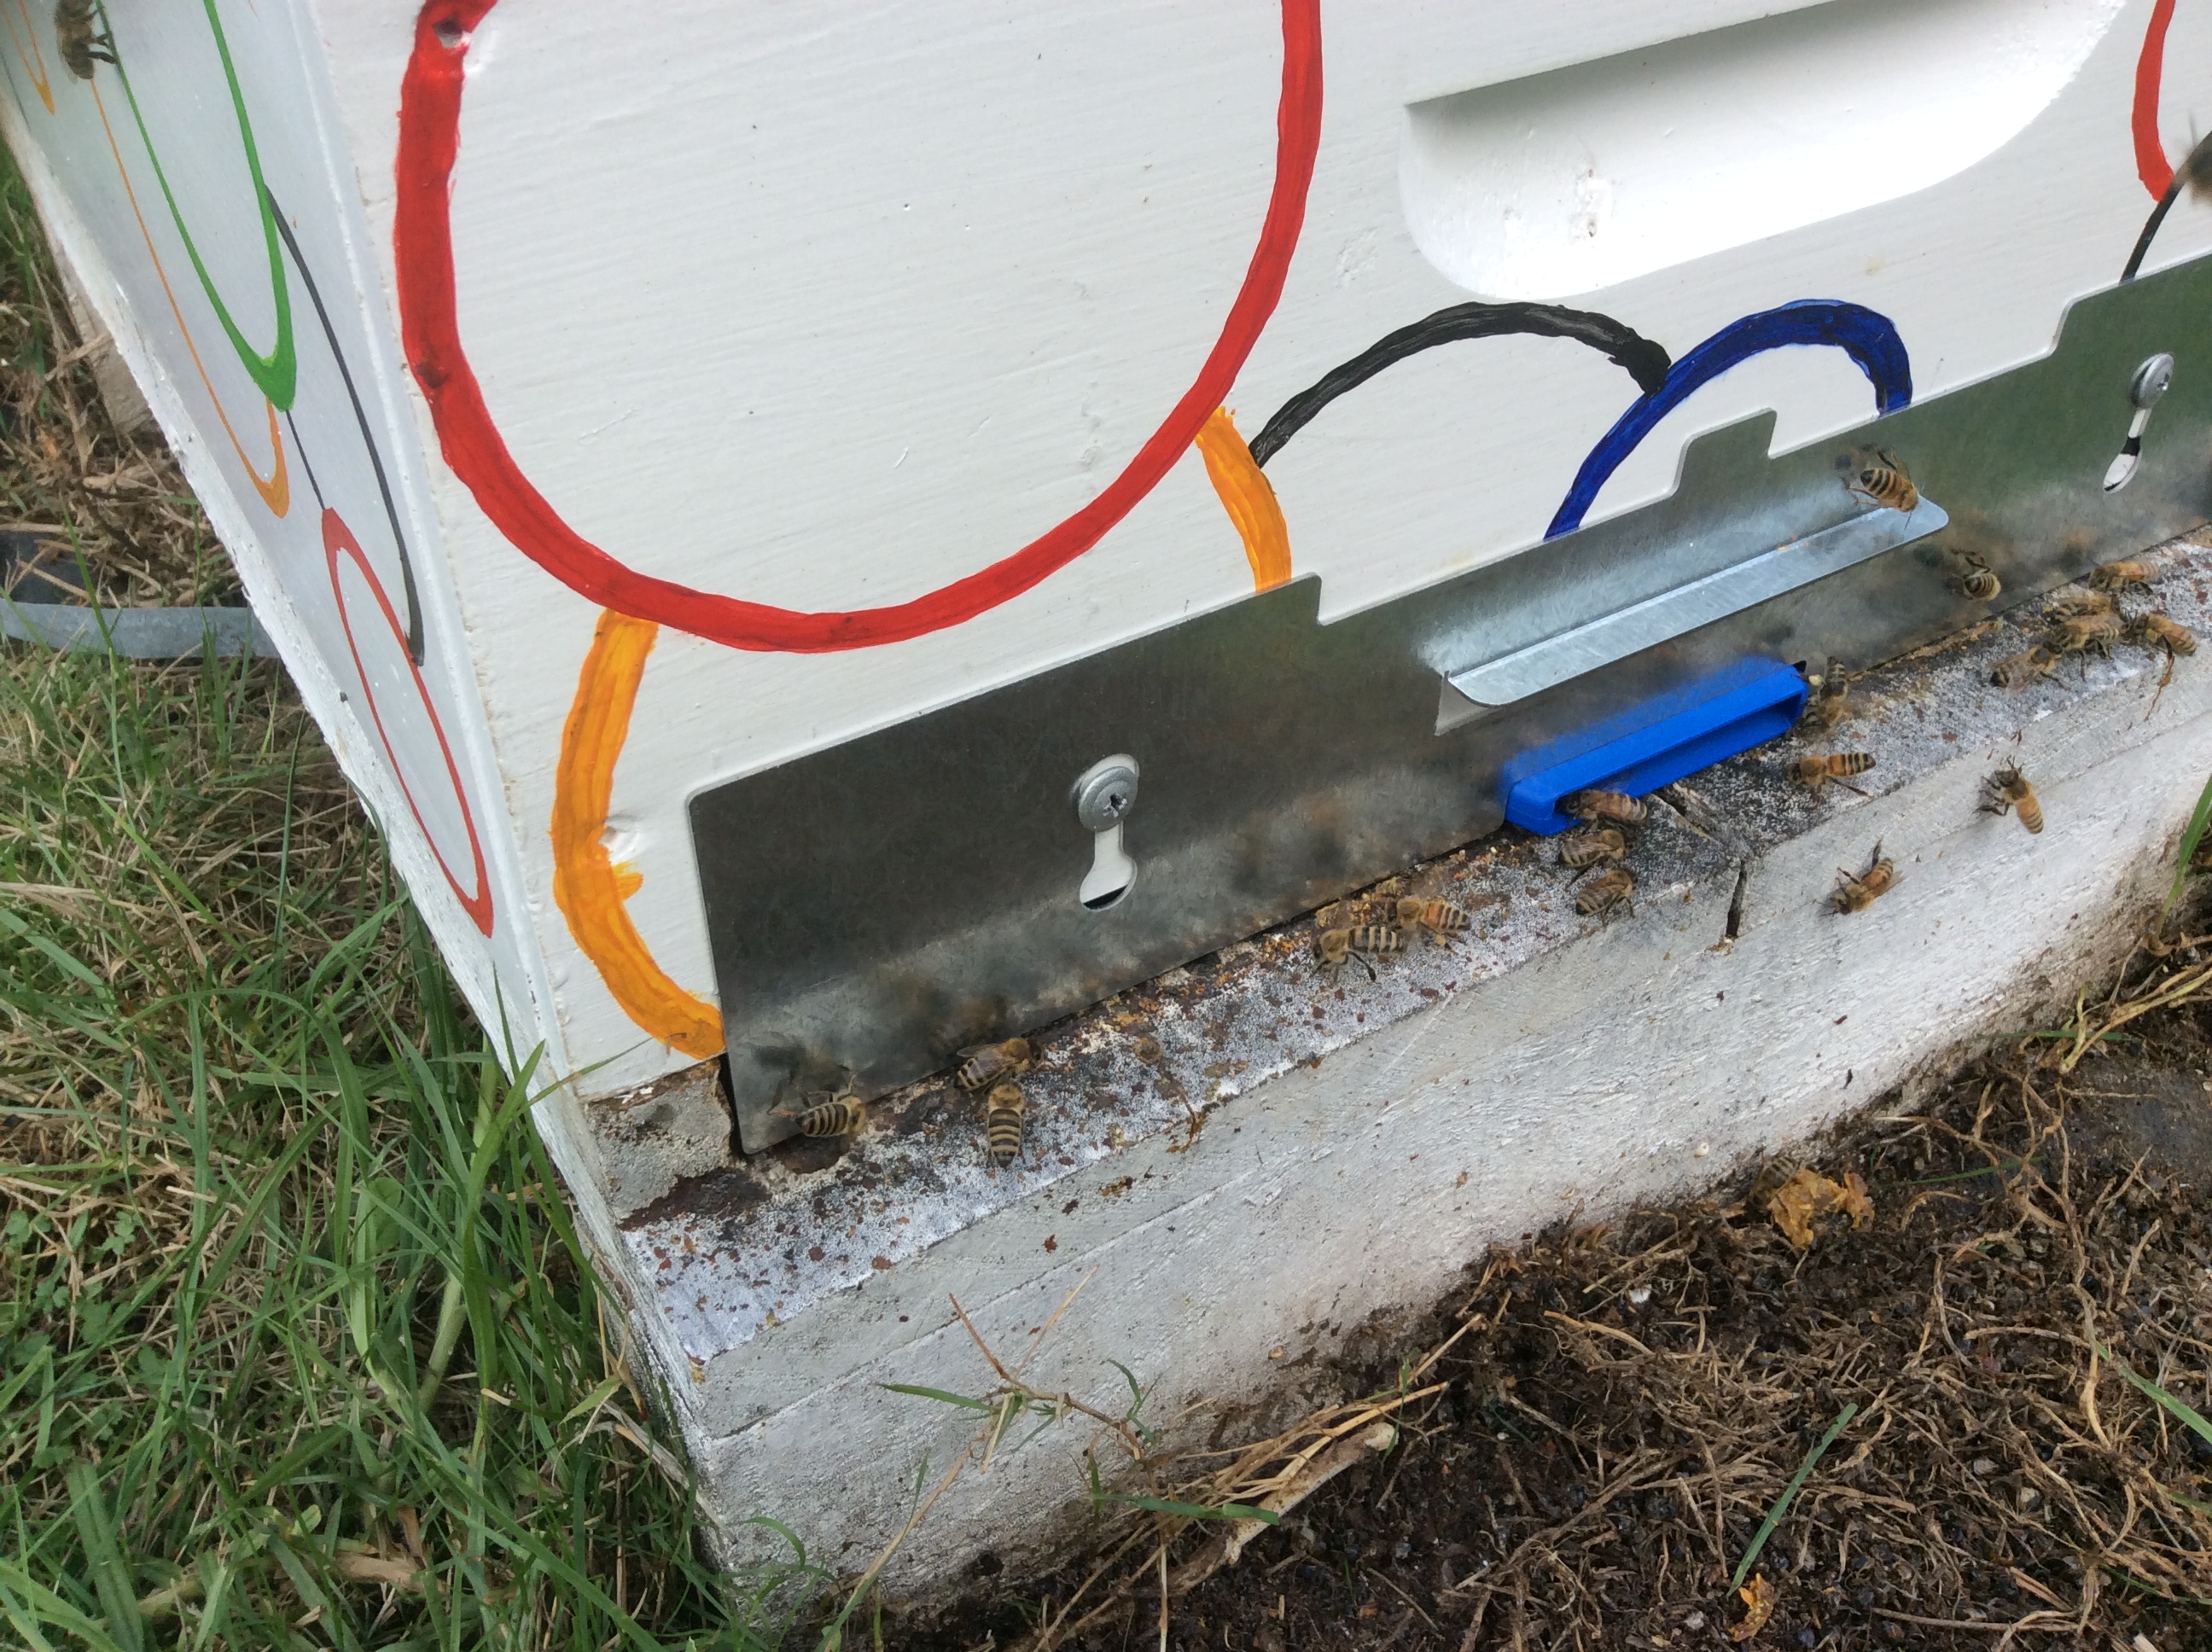
External entrance fitted
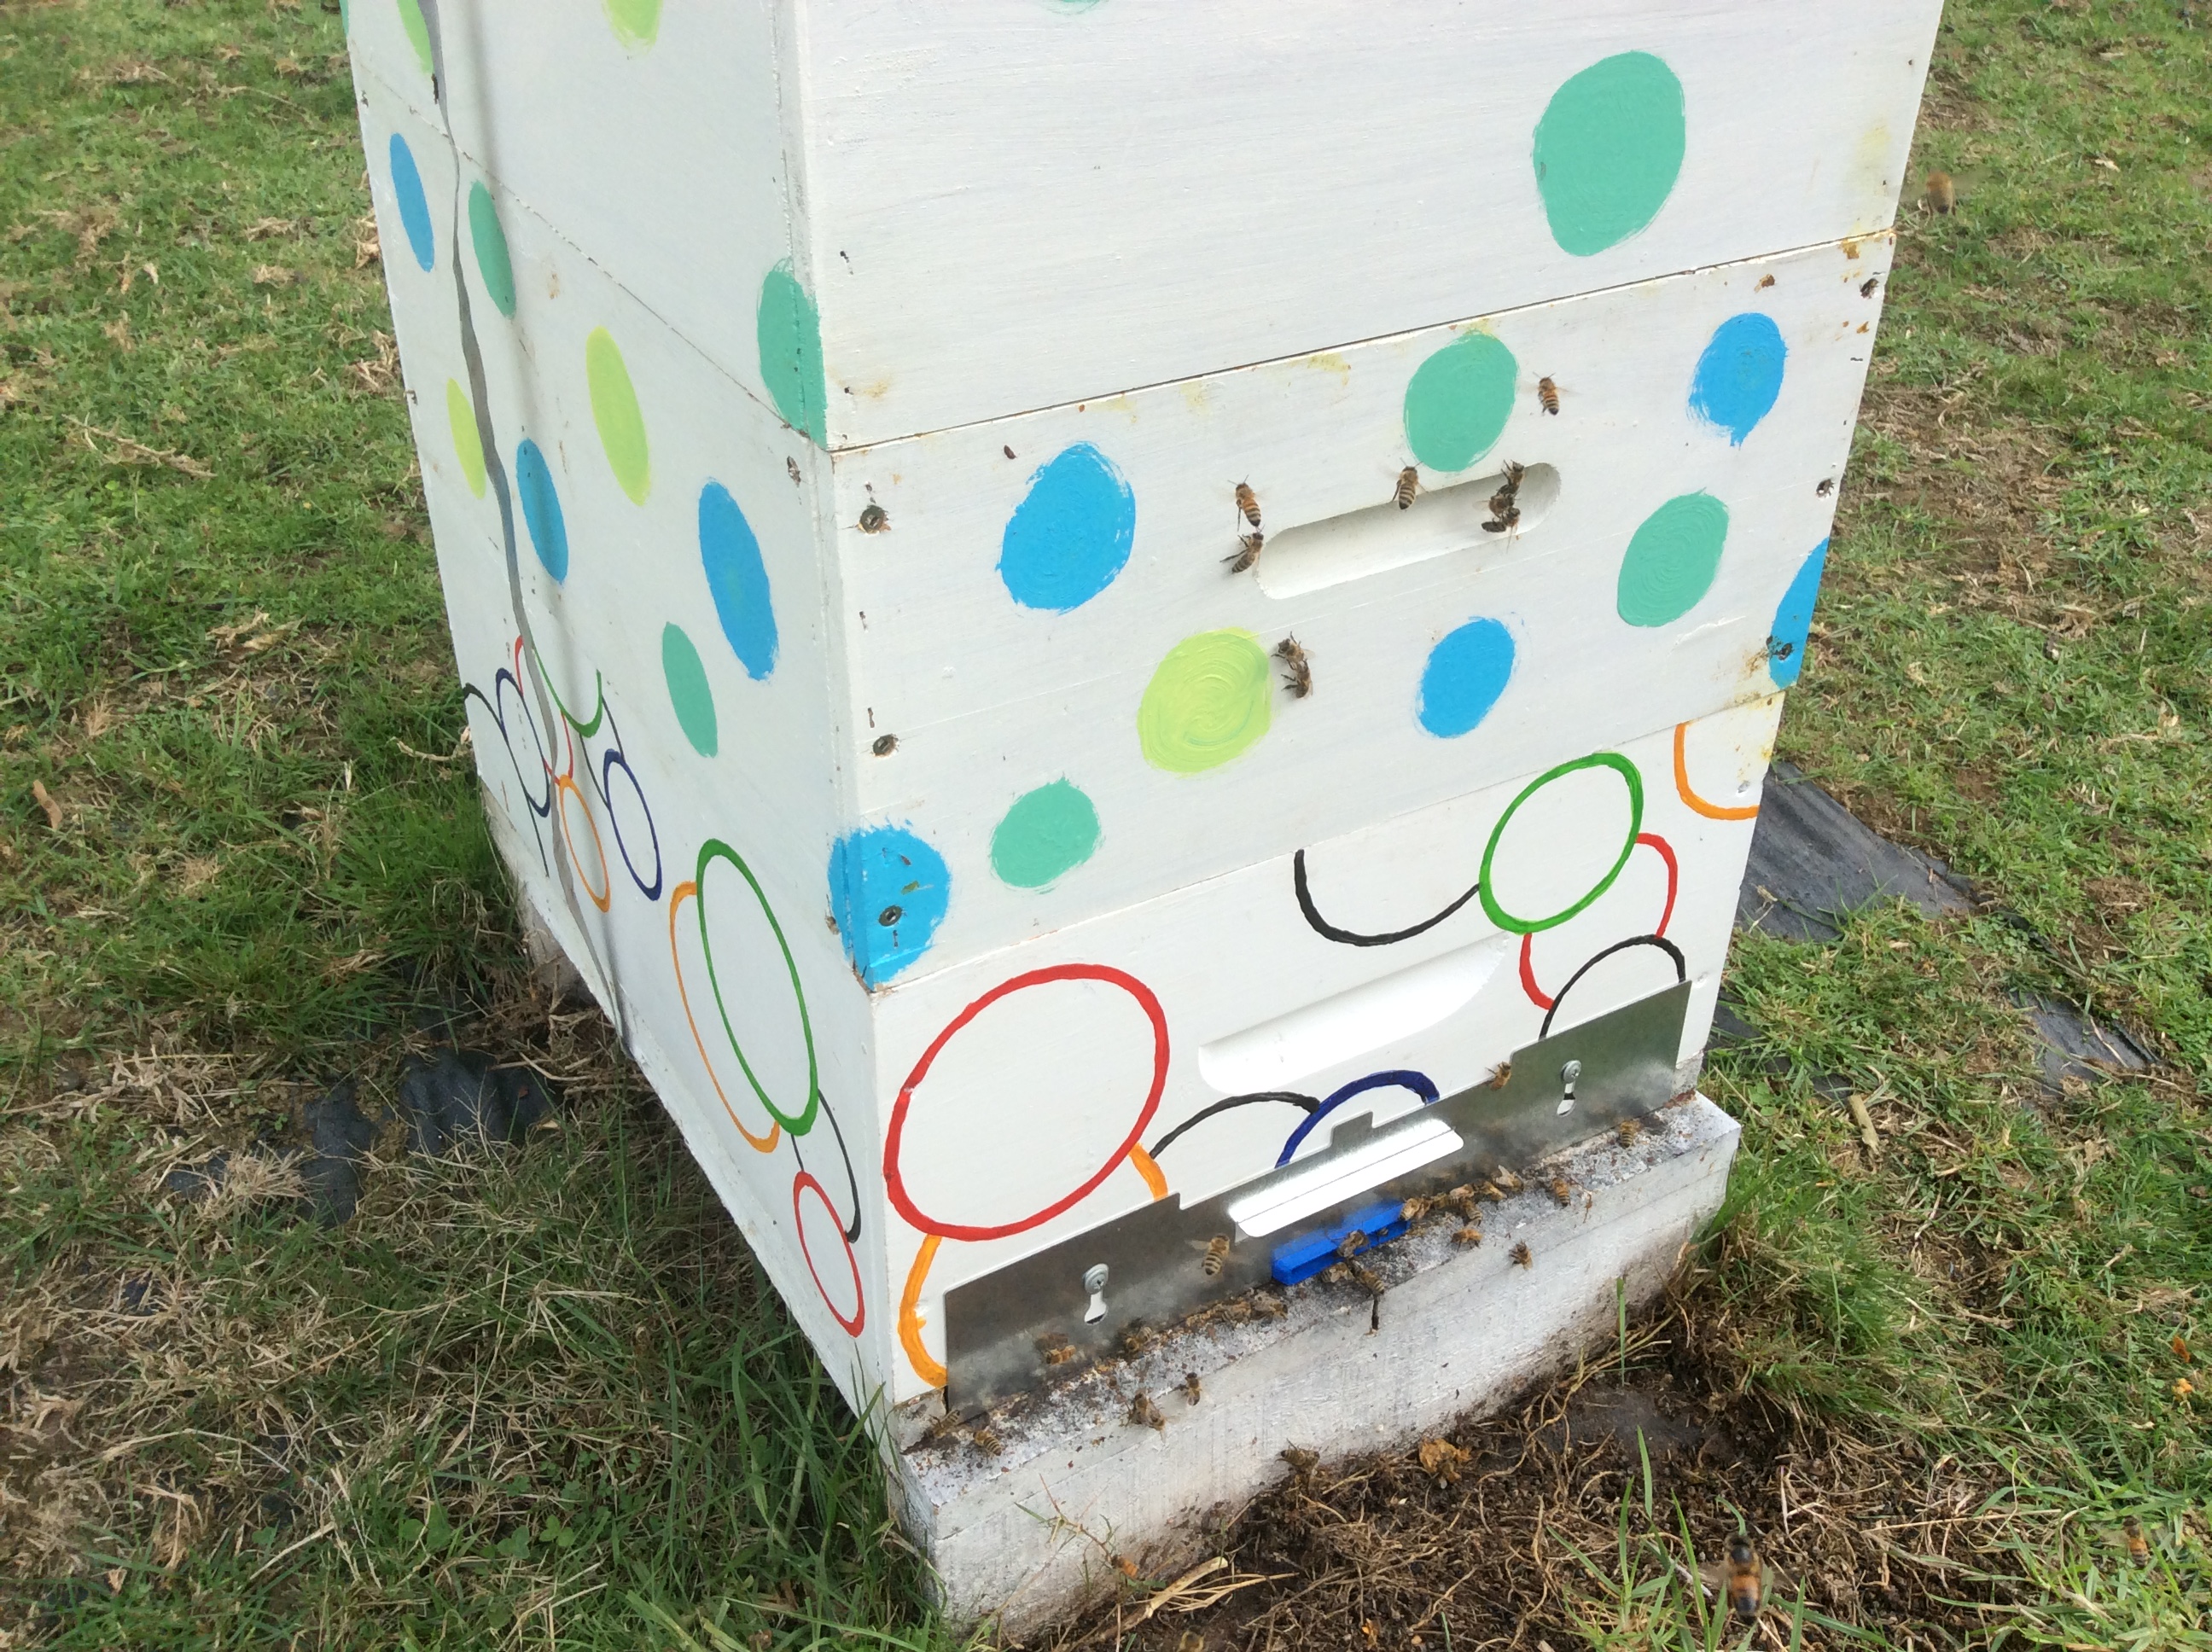
Hive back together
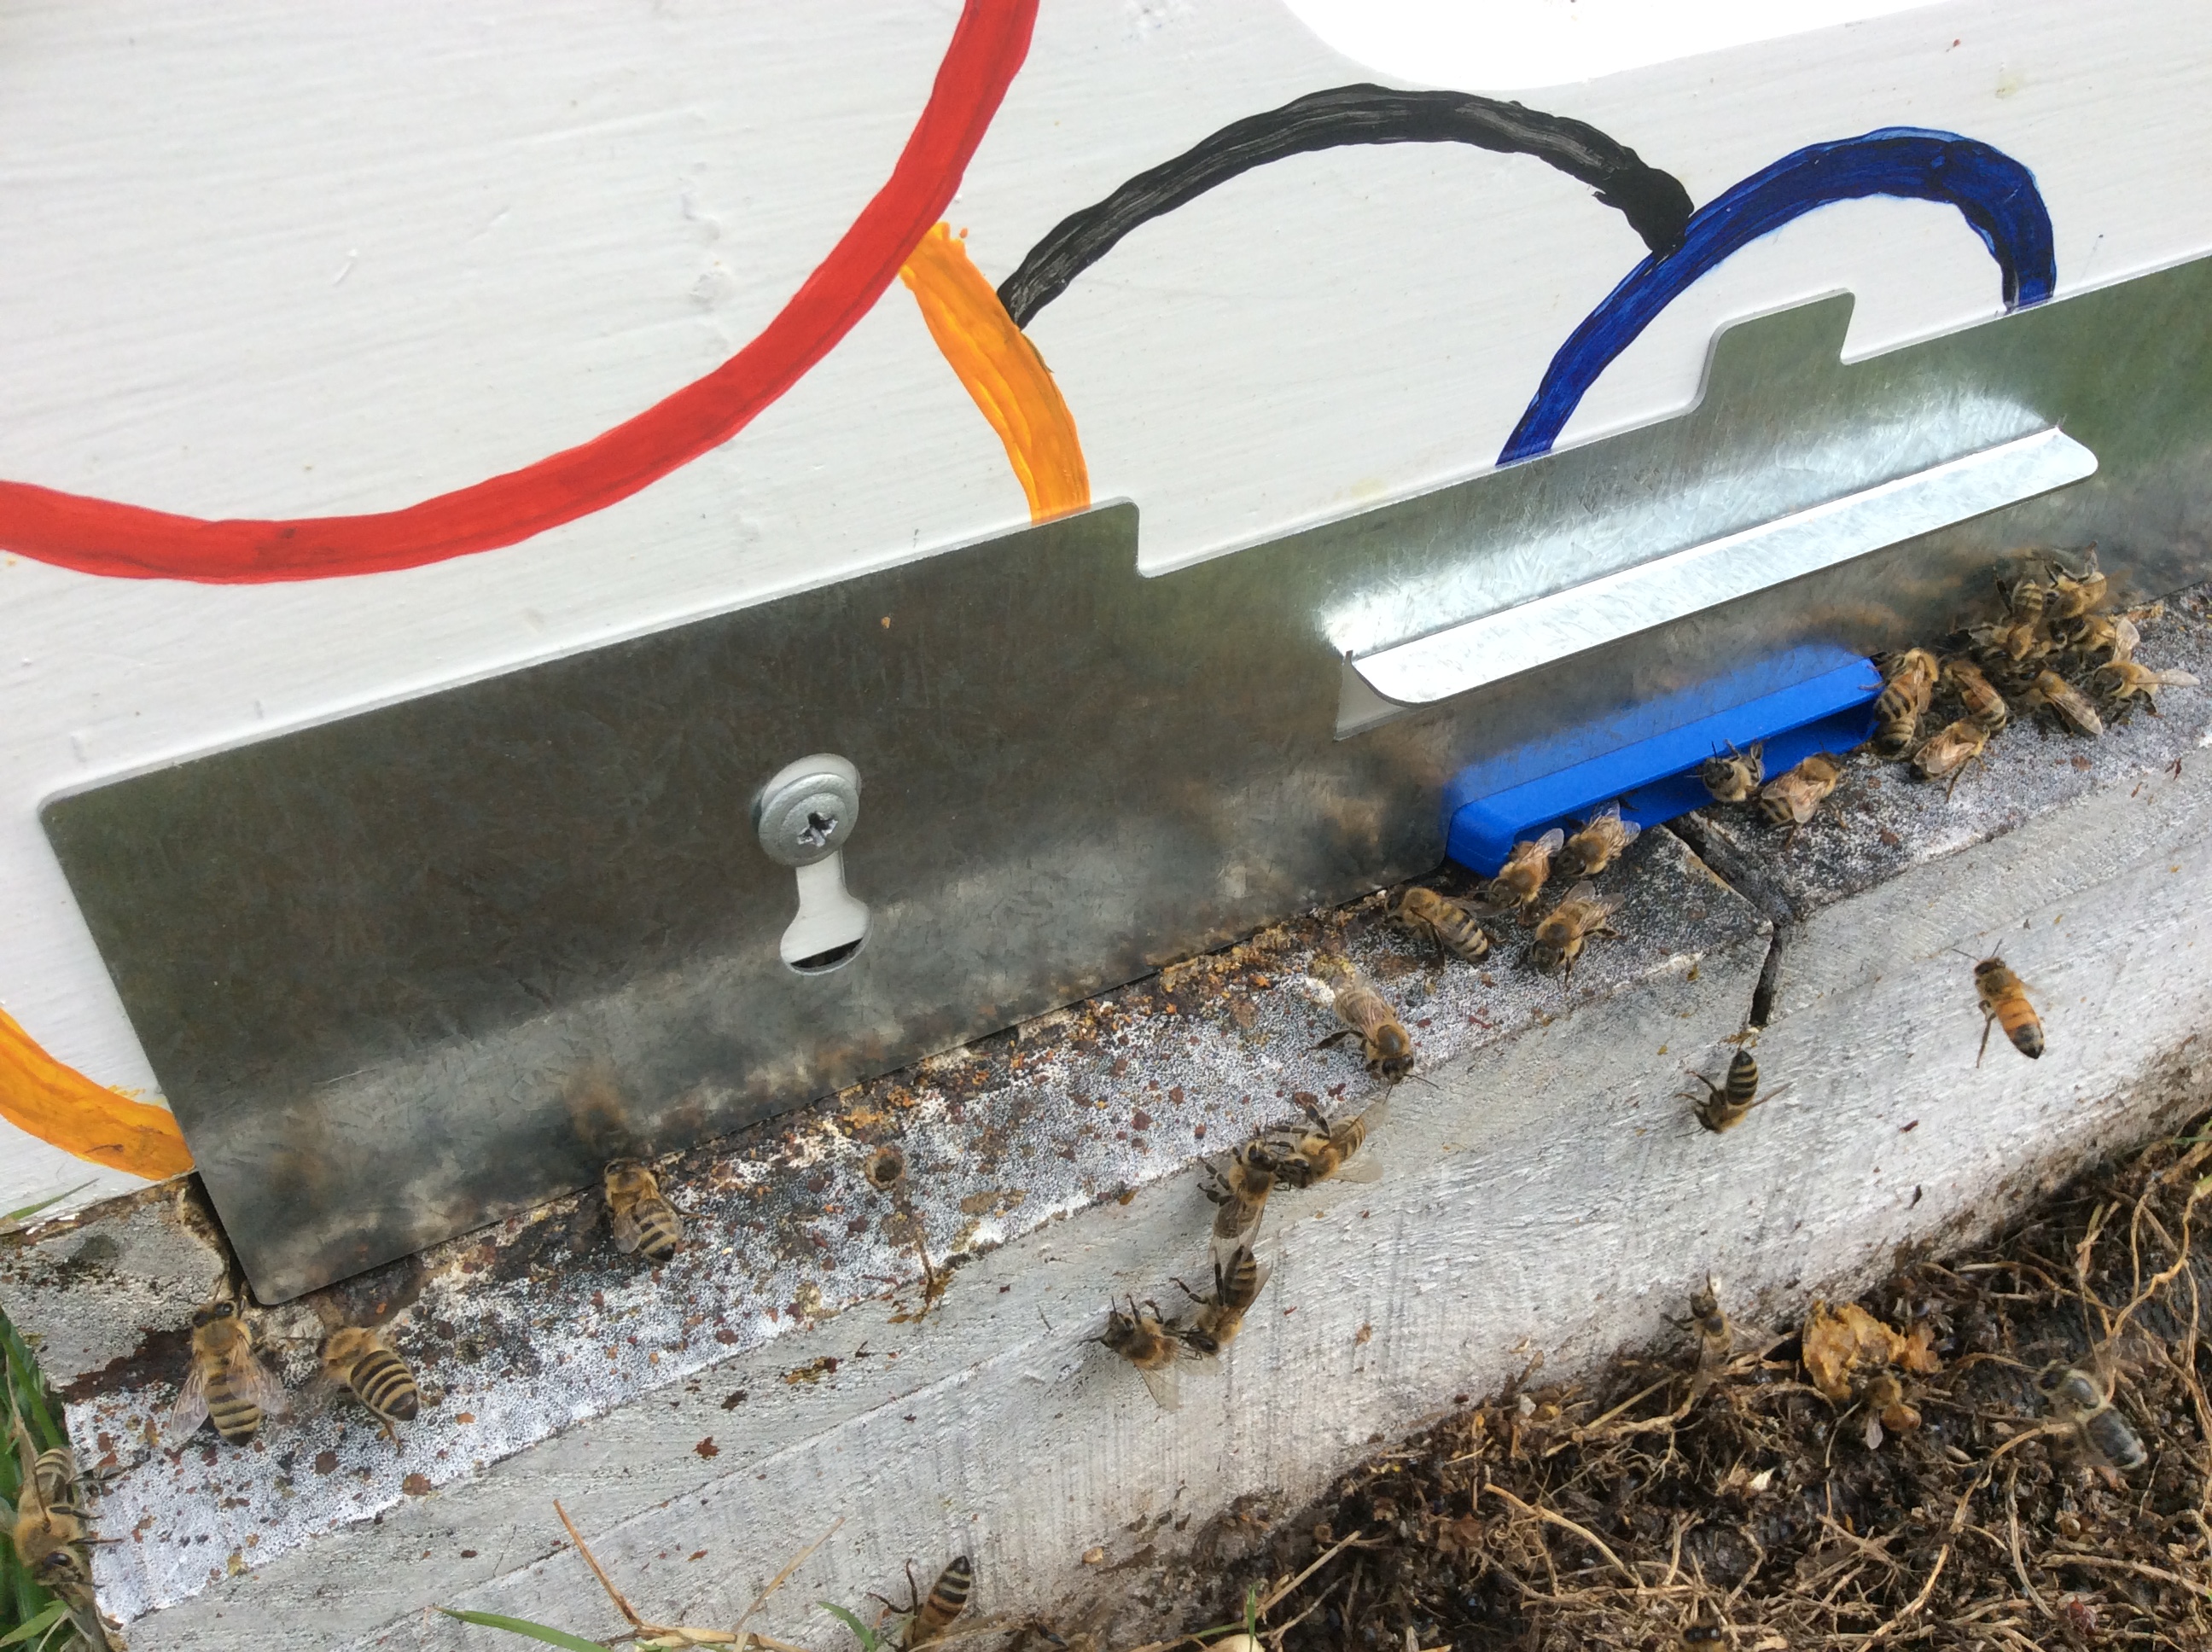 Amazing how fast the bees get used to the new entrance
Honey extraction this Saturday 26th
See you all at club site.
Last Hive checkup of 2018
Sunday 30 th, last hive check of 2018, some hives doing well with good caped honey frames, looking forward to extraction day.
The benefits of Joining a Club
Having googled, read books I took the plunge and got into bees, and with prodding from my neighbours I joined the Rodney bee club.
Attended most meetings, I listened , learned, fronted up to the field days, learnt how to extract honey…yum .
During meetings the clubs president always says remember…what works for that person may not work for you ..you need to look at your hive .
My hive has been slowly dropping numbers, but that’s alright , it’s winter ,so to be expected, I have got mite treatment, so cant be that , must be hungry, so I’ll keep feeding them but numbers kept dropping, built a fence to keep the cold southwesterly away, but still numbers kept dropping .
During the last field day, we all got involved, opened hives inspected, gee these hives are doing well..compared to mine. Than the penny dropped, my mite treatment was not working!!!.All the signs where there but i forgot..what works for that person might not work for you.
Got some different treatment, hey presto…dead mite city.
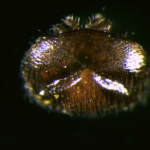
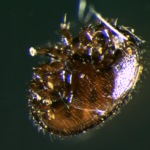
Took some interesting pictures with a microscope.
Spring field days
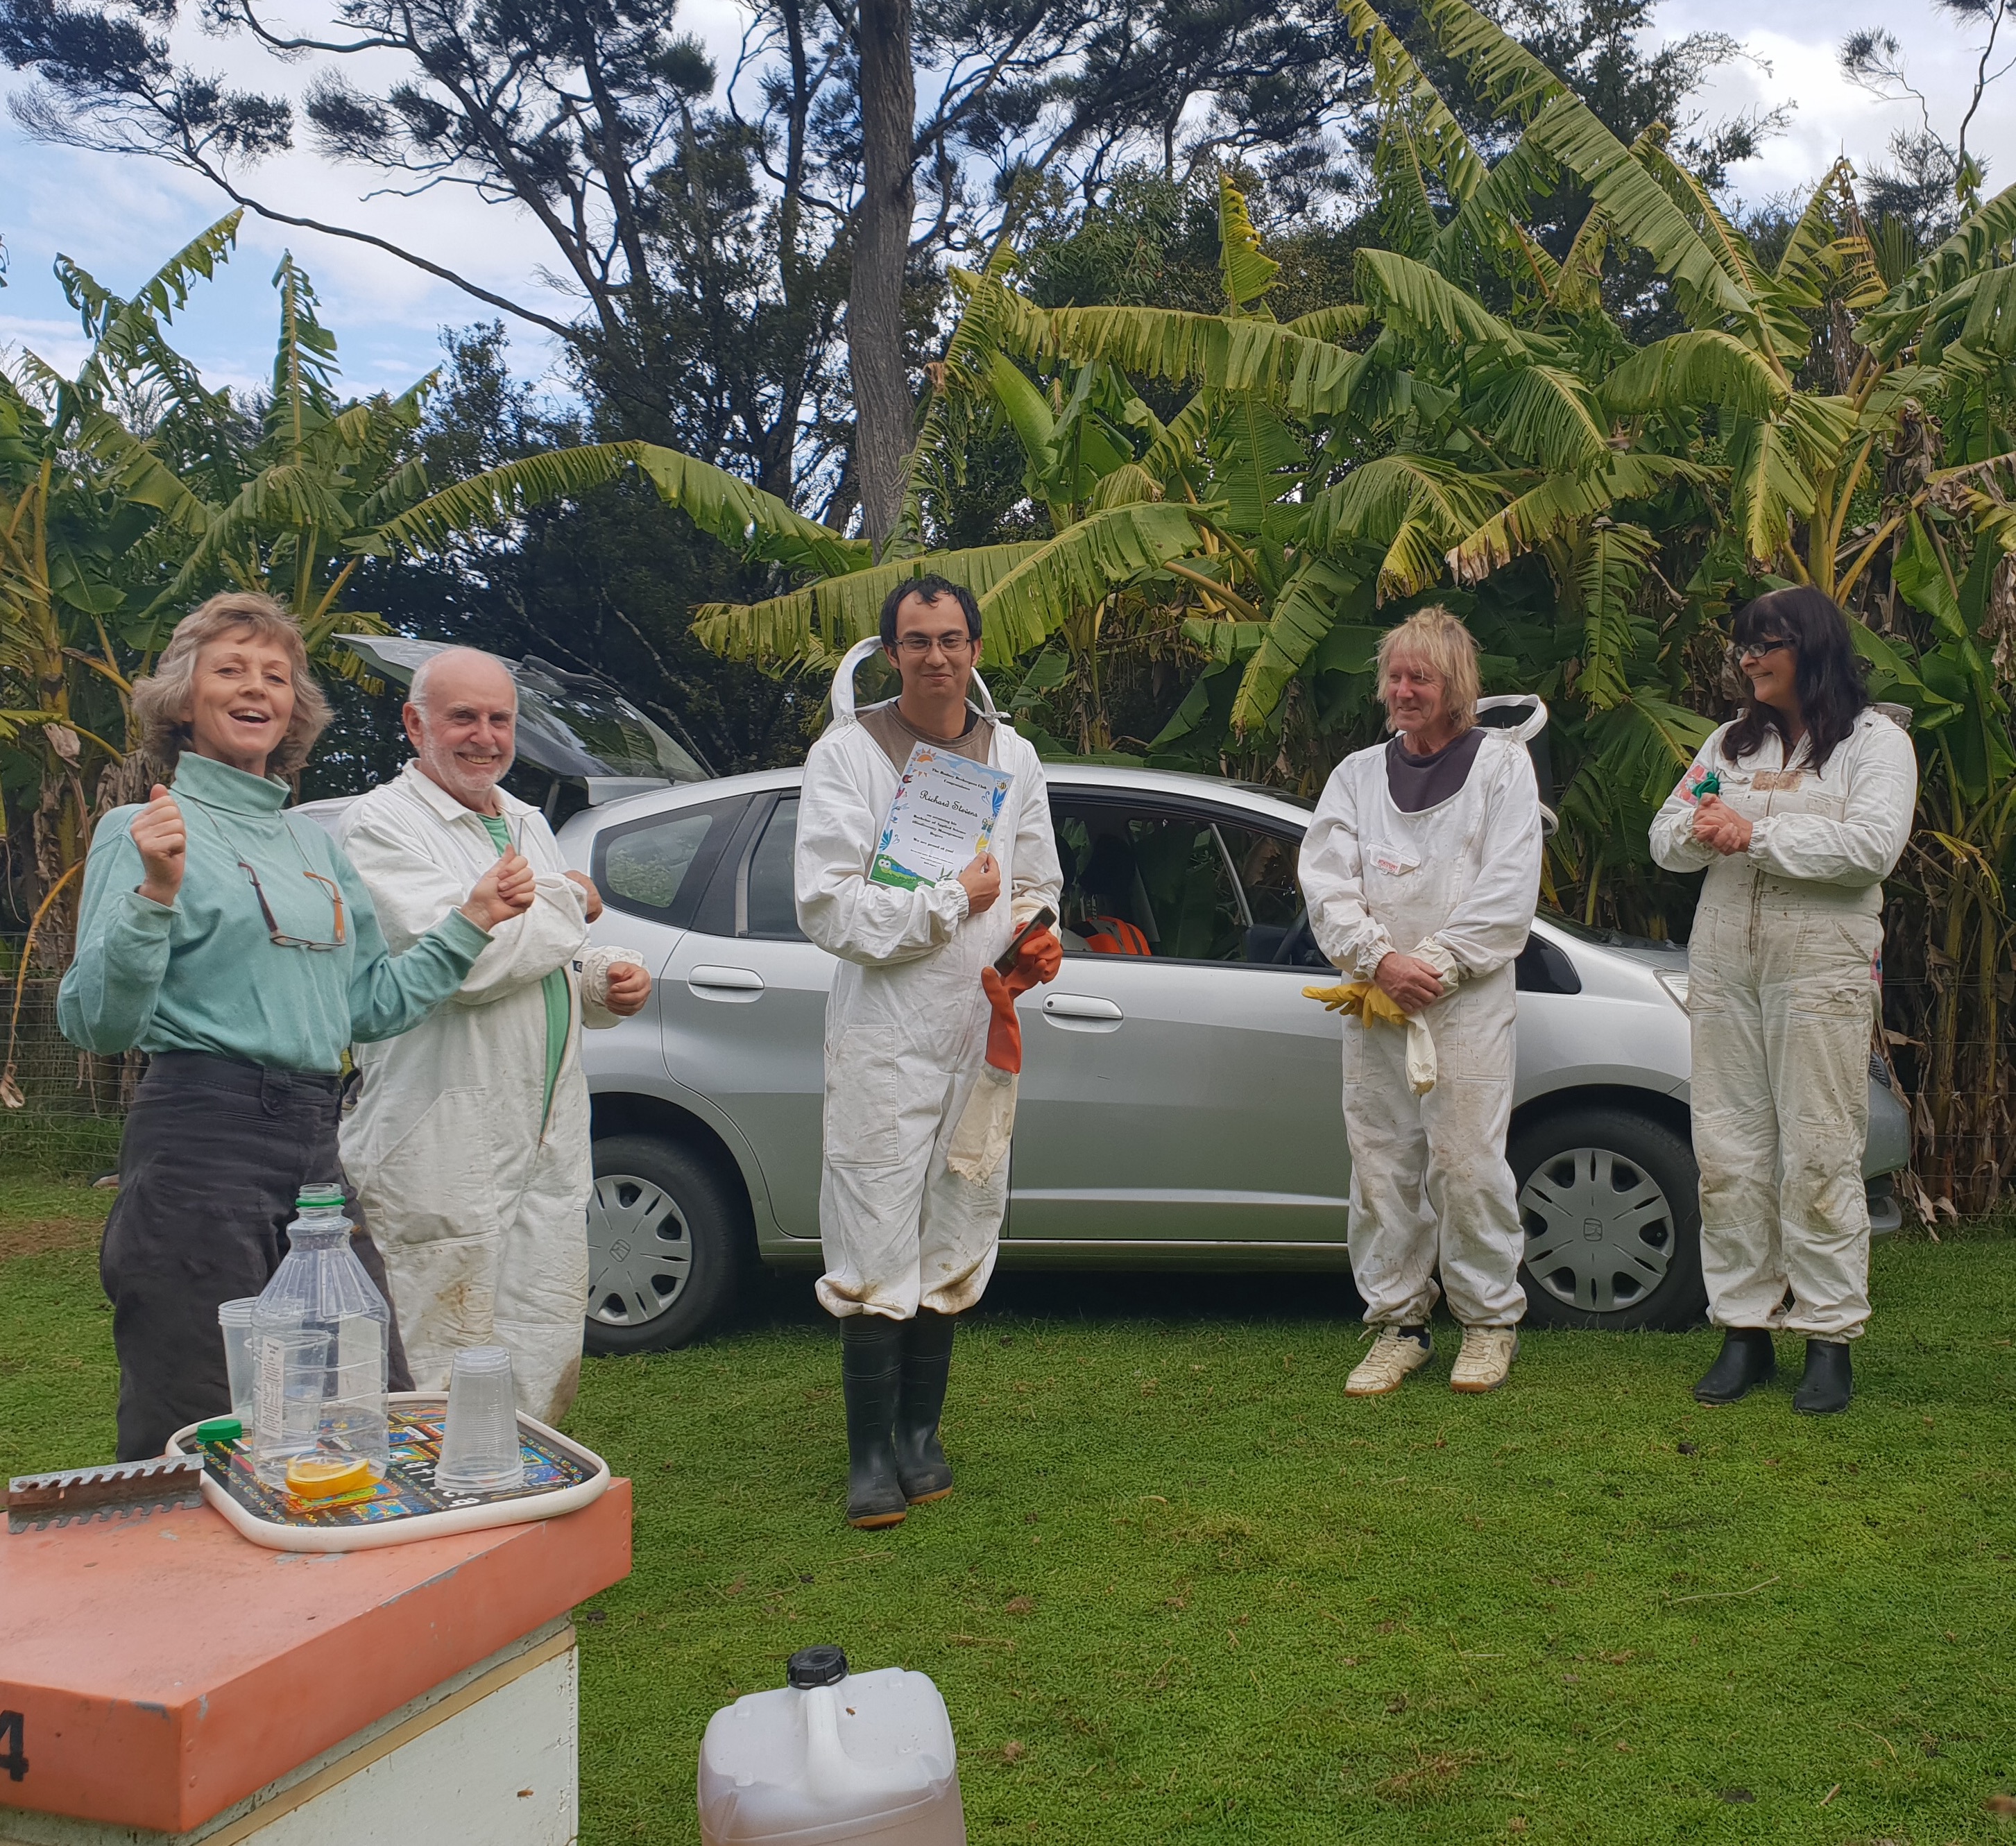
Richard receiving our RBC congratulations for his gaining his Bachelor of Applied Science (Biodiversity Management).
